Xpan scanning, best practice panorama film scanning
How to scan Xpan without an expensive MF filmscanner
Many owners of the excellent Hasselblad Xpan (Fujifilm TX-2) having hard to get it
scanned in an easy affordable and flawless way.
This tutorial will also be applicable for 6x17 format scanning if the appropriate scanner is
available ( Polaroid Sprintscan 120 nikon LS-8000 / L-S9000 )
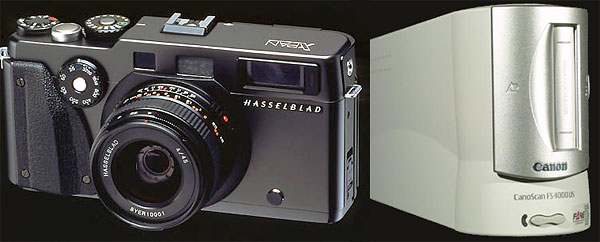
I will show you how to do this easy with perfect result "every time" :0)All you need is a perfectly exposed film from your Xpan my favorite scanner software
Vuescan and a suitable filmscanner, my choice is the old but still going strong Canon FS4000US.
If you don't already own a filmscanner already get one cheap @
Ed Hamrick of Vuescan says in his users manual for Vuescan.
"Input | Frame offset
This option sets an offset for the start of the each frame on a film strip on the Nikon
LS-30, LS-40, LS-50 (V-ED in USA), LS-2000, LS-4000, LS-5000, LS-8000, LS-9000 scanners
the Canon FS4000 when the strip film adapter is used, and the SprintScan 120 when the Medium
Format adapter is used.
Use this option if there is some leader on the film strip, or if you're scanning
panoramic frames and need to scan what would otherwise be the gap between
35mm frames.
This option can be either a positive or negative number."
There is written several short how to instructions in this matter but this one will
show you how to do it in an easy and "fault proof" way :0)
I will use the most present version of Vuescan 20081218 V8.5
Lets start now!In short this tutorial contains of 3 steps.
- Scan your xpan film in two pieces in Vuescan RAW (Vuescan raw tiff or adobe DNG raw)
- Stitch them together manually or automatically in RAW mode(Vuescan raw tiff or adobe DNG raw)
- Make the color corrections (By importing the stitched image back in to Vuescan or in additional photo editor)
The longer version will start here :0)
Make sure your scanner is on and accessible, now start Vuescan and make the initial
settings as the image below EXEPT for the lock exposure tick mark.
Also pay attention to the "Color" and "Filter" tabs as below.
Now do a preview of frame 1 (Assuming that your Xpan image is located in the frame 1
and 2)right after this preview, tick the lock exposure box.
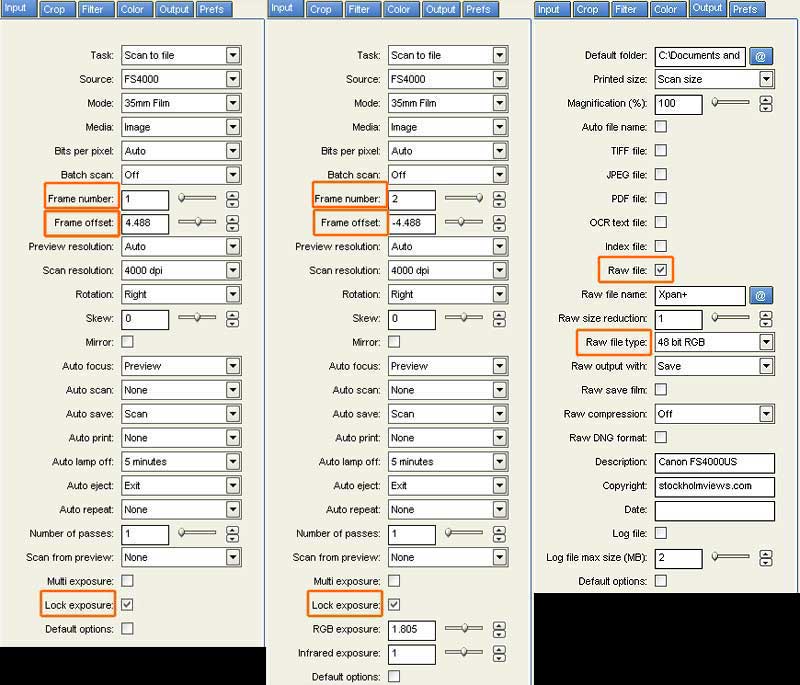
To the far right the output tab settings for the scans to be performed (both frames) note
that we are scanning i RAW tiff mode to avoid as many image color, brightness,
whatever variations and mistakes as possible, just to make the actual merging of
the two scans simple and undistinguished.
If your stitching and editing software can handle 48bit raw tiff´s just do it.
Otherwise stick to 24bit output.From left to right, to the left settings for the first frame the (Assuming that your Xpan image is located in the frame 1 and 2) tick mark in lock exposure box (After the preview)
Double check all settings and pay special attention to "Frame number" and "Frame offset".
Now it is time to hit the scan button and wait for the scanner to scan the first frame.In the middle the settings for frame/scan #2
When first scan is performed, just select "Frame number 2" and adjust the
"Frame offset" by simply putting a - character before the numbers.Now it is time to hit the scan button and wait for the scanner to scan the 2nd frame.
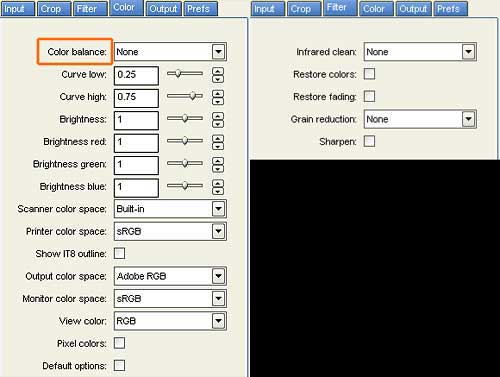
Color balance setting should be checked and set to "None" the filter settings
can be used as you wish
I prefer to remove dust
the old fashion manual way
but that's me :0)
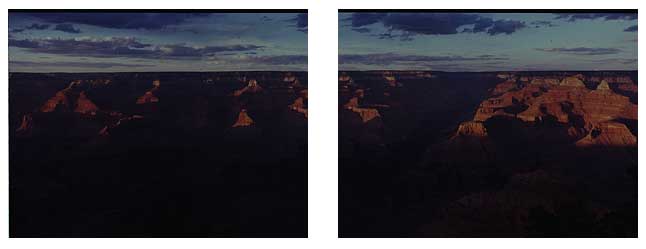
This is how it looks when scanning is completed!
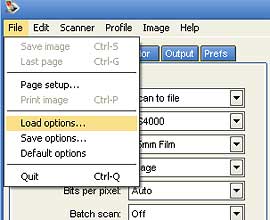
In Vuescan It is possible to save custom
settings A.K.A. Options and name them in a
way that you remember what they do;
Download the settings above here then it is
possible to rectal those settings by Load Options