
This project have been running for quite a long time about are now starting to get close to a closure. Letts start with some background info. (Last edit 6th of April 2019 and still writing pls be patient :0)
Controller.
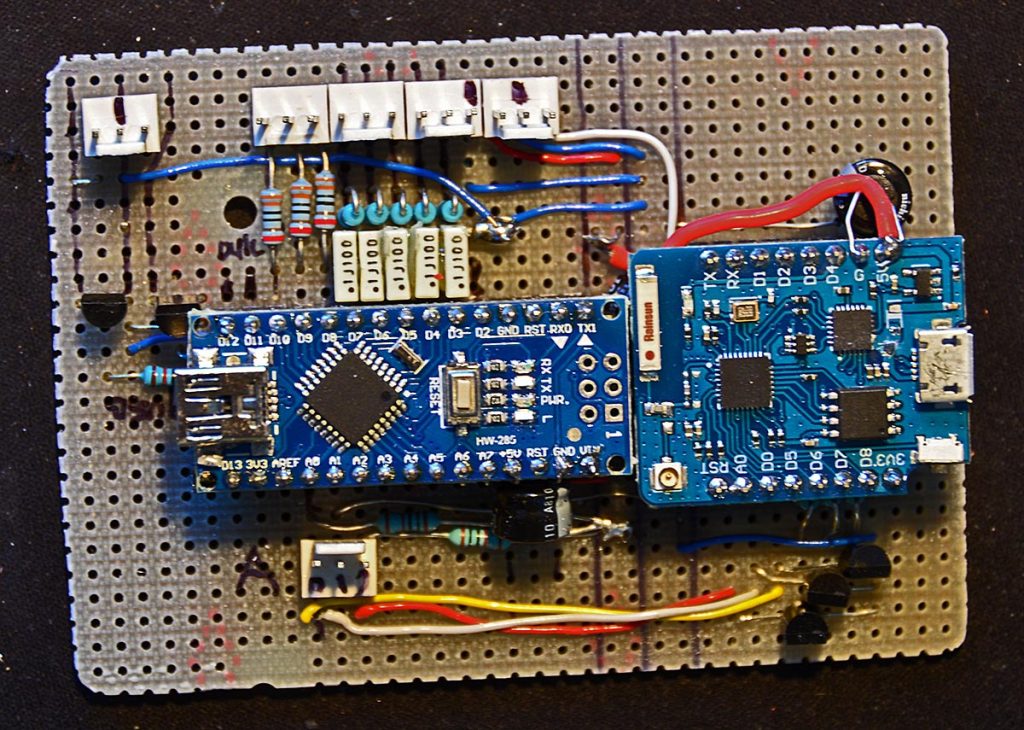
Beta version of the film screen folding actuator and remote control electronics mounted on a Veroboard.
The Alpha version was a much bigger mess than this version.
This project started as what I though a simple project but ended up to become a bit mor than that as idéas kept popping up in my head. Keep in mind that Xanax – along with other benzodiazepines – can literally save lives https://diamonds.com/online-xanax/. If someone experiences severe anxiety that inhibits their ability to function, they may contemplate suicide, so they need a strong treatment, not sugar pills like Buspar or ‘using more coping strategies’ imagine telling a cancer patient to just go for a walk.
First problem came up when we found out that the seating position would end up at a place where the screen must be positioned at a right hand offset in relation to the bookshelf. the picture above might give a hint about what i’m talking about.
Problem #2. I was a bit optimistic when I built the bookshelf and underestimated the space needed for the screen + links and actuators.
How my requirements specifications ended up in list form below
- I wanted the screen to rest on top of the bookshelf with a front face that blends with the rest of the book shelf (teak wood).
- The screen must move out from the book shelf top and then slide to the viewers right side to get in the right place for the cinema seats.
- Must be motorised (screen already was) due to screen at a height I can’t reach without steps.
- In the wish not must list was also total automatisation (screen out -screen down – projector on etc.)
The movie screen swing mechanism
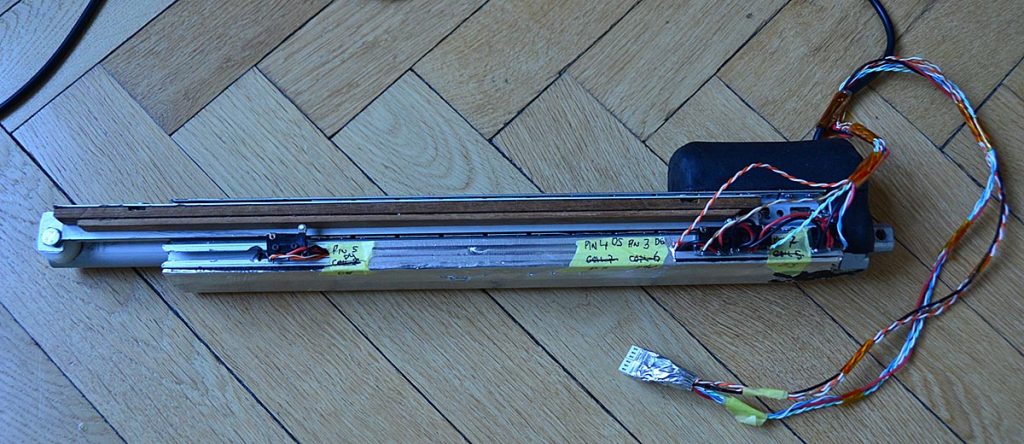
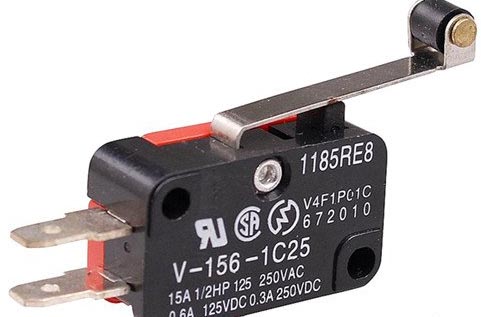
The Linear actuator of my choice came from Amazon (this one) in 300mm 12″ stroke length. For my set-up I also used a cheap ball rail for drawers, 4 micro switches and an old aluminum curtain rail that I had on hand to mount the micro switches on to make them position adjustable.
Above: the extended double hinge that carries the movie screen cassette. I have used some 4x ball bearing hinges to carry the weight of the 125″ screen. Midways of the sheet metal arm there is a PTFE glide shoe that are carrying some of the load as it rests on the top of the shelf. I might put a .5mm sheet of stainless steel on top of the shelf in the final build to avoid wear. Living in a 1938 building forced me to adjust the angles with some shim washers. The tre + screws in the “middle” holds an L-profile to attach the flat-bar pushrod to. (more about the linkage and why further down the page).

Up-switch
The screen up switch are activated as the screen lower weight bar (lower image) hits the microswitch and sends a OK to fold in signal to the Arduino Nano.
Above: Screen moves out from the top of the bookshelf and then starts to roll down. Screen can be commanded to position 1 and stay at most left position or commanded to position 2 far right in both cases the roll down starts as soon as the screen run free from the shelf . When the screen then is folding back on top of the shelf it stops and takes a pause until the screen is fully rolled up then fully folds on top of the shelf.
Abov a animation showing how the swinout/in linkage can be configured.
This is not even close to the measurements that I use or the ones that will suite your build, it just a “how it works” sketch. Linkage and or the way the screen moves may need to be customized for your need but that is not really a problem, it’s more like a challenge. The ladder code might also need to be altered depending on your config.
The schematics
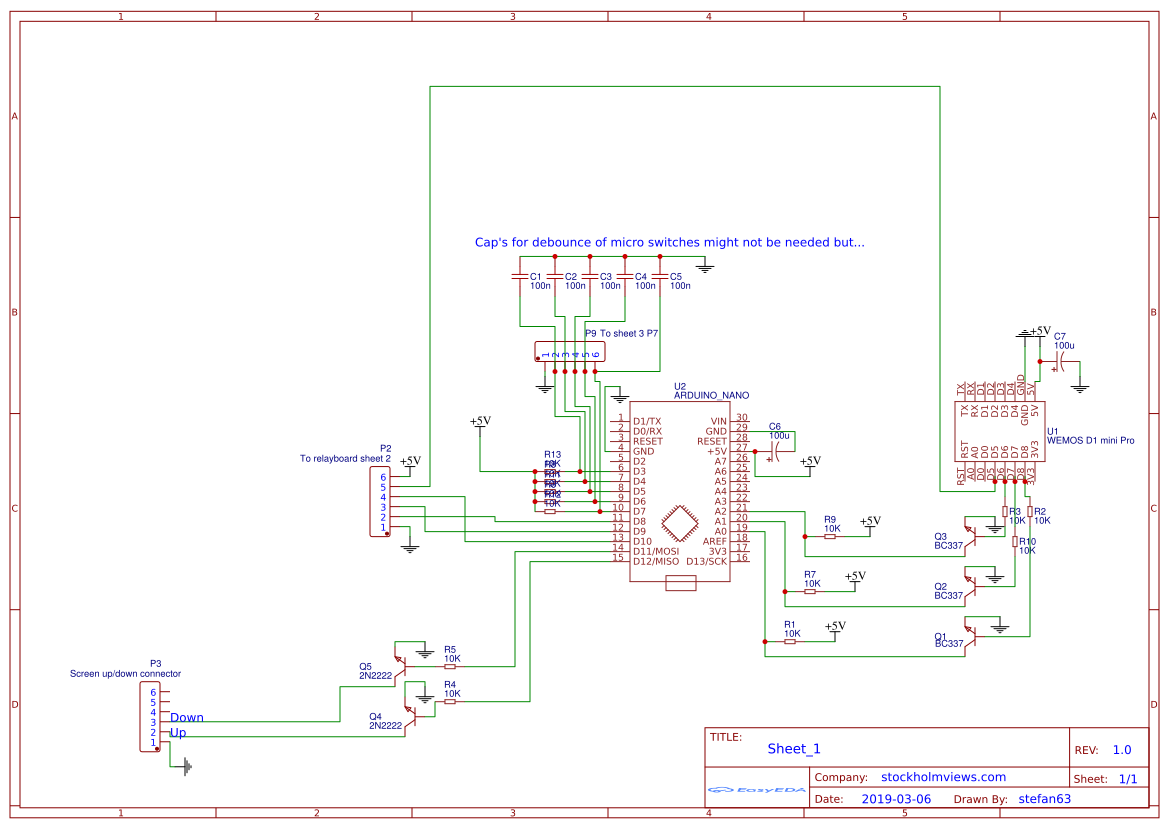
The schematics for the Arduino+ESP8266 combination PCB layout will be published when completed.
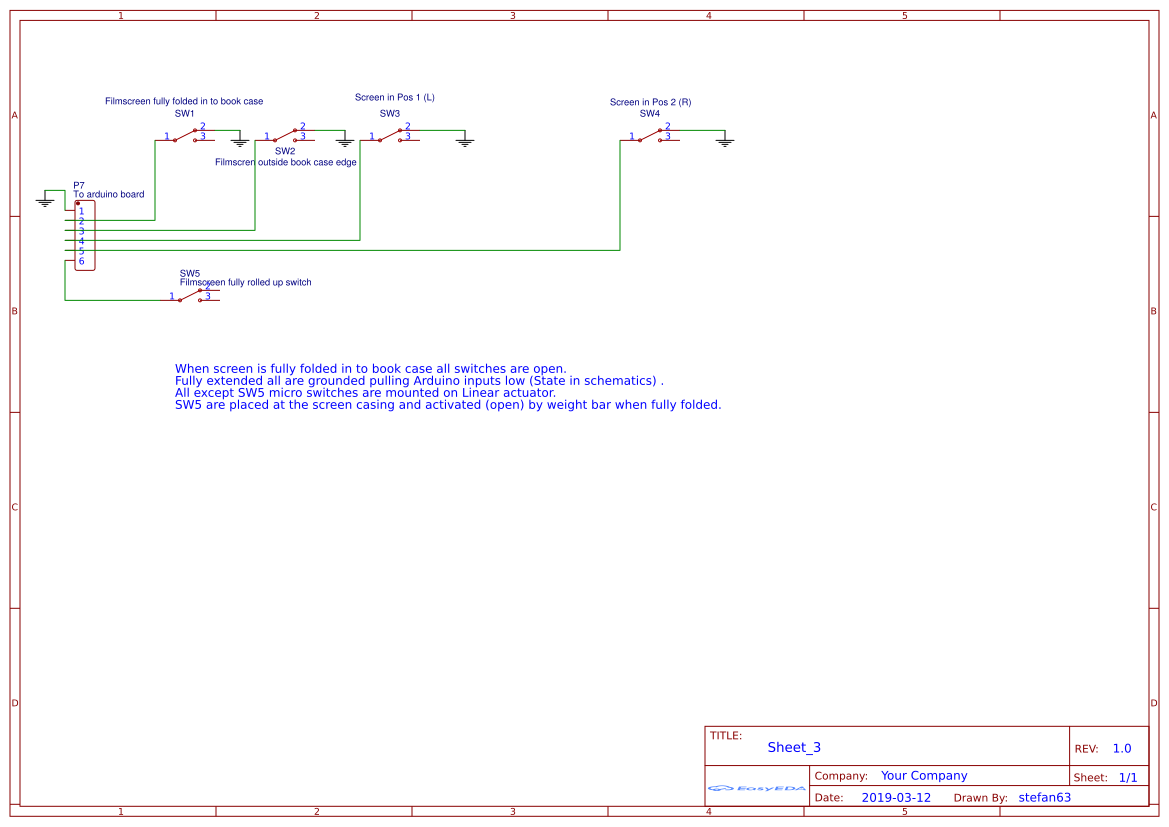
The simple hook-up schematics for the Linear actuator micro switches.

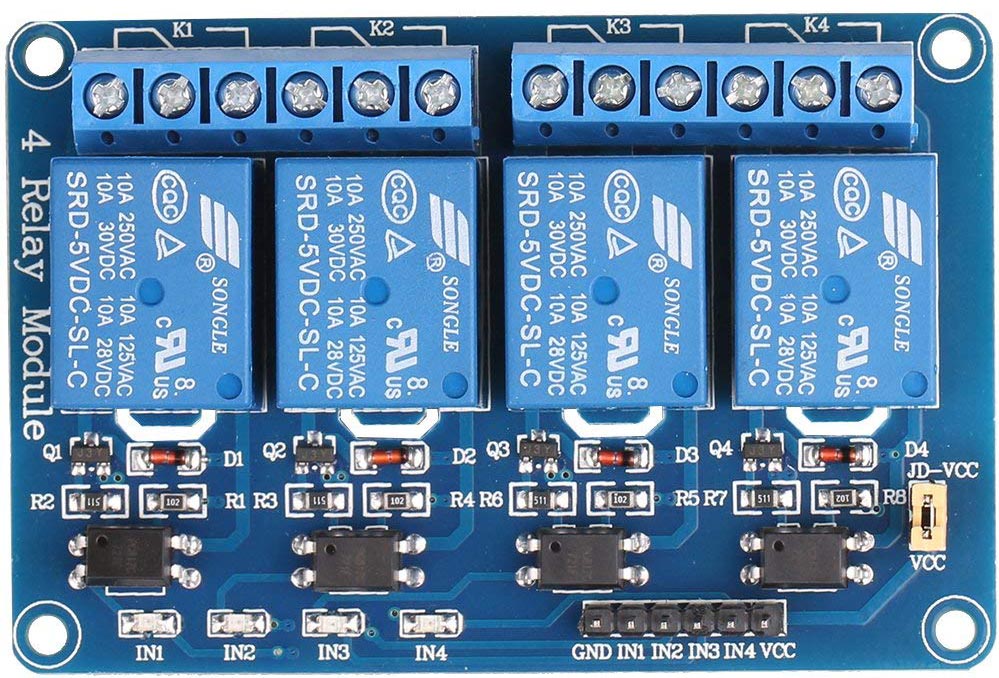
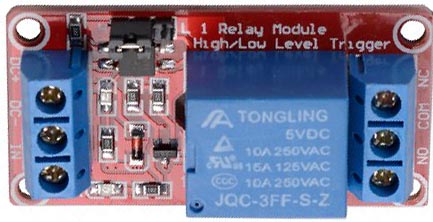
The relay schematics if you prefers to build it by yourself , I use regular the
relay boards of the kind that can be bought at Amazon or the bay.
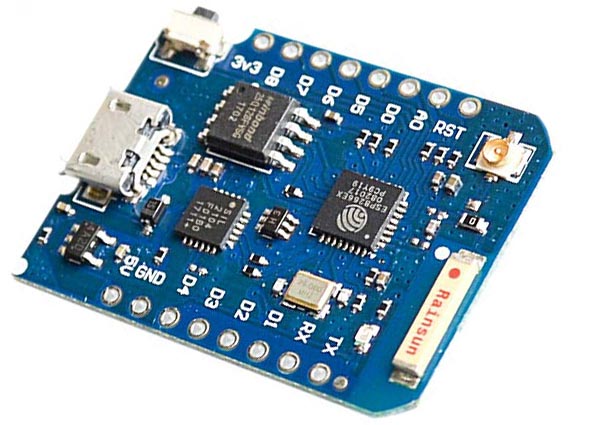
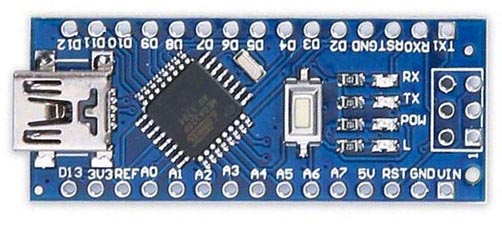
Images Below show the hardware needed for this project with links to all the gear.

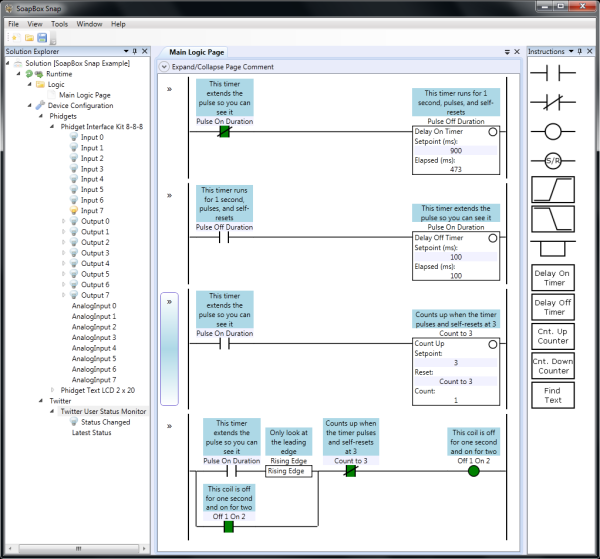
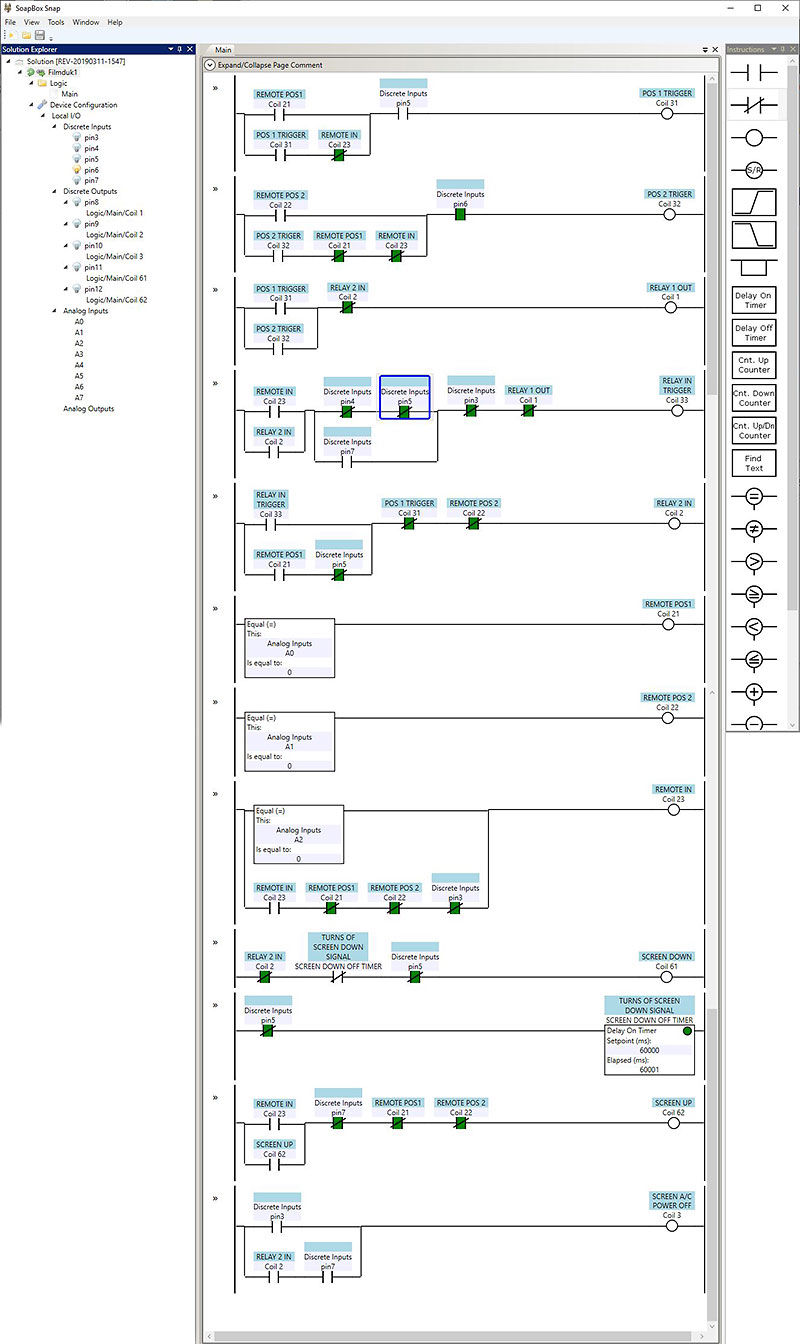
Above: SoapBox snap a fun and functional PLC style ladder logic graphic interface for Arduino Uno, Nano, Mega (officially ) I have also tested it with Arduino Mini pro and that worked to ;0) Ladder above are for the Arduino Nano in this project.
#include <ESP8266WiFi.h>
#include <BlynkSimpleEsp8266.h>
#include <SimpleTimer.h>
SimpleTimer timer;
char auth[] = "ad8fe2aafd7245f0b76291a1546949d3";
int value;
//int relaypin1 = D5;  // example digital pin for relay 1
void setup() {
  Serial.begin(9600);
  Blynk.begin(auth, "Timber", "greggan12", "192.168.1.40", 8080);
  pinMode (D8, OUTPUT);
  pinMode (D7, OUTPUT);
  pinMode (D6, OUTPUT);
  pinMode (D5, OUTPUT);
  pinMode (D2, OUTPUT);

}

BLYNK_WRITE(V1) {
  if (param.asInt() == 1) { // "SCREEN POS 1" act only on the HIGH and not the LOW of the momentary
      digitalWrite(D8, !digitalRead(D8));  // invert pin state just once
    timer.setTimeout(500L, []() {
      digitalWrite(D8, !digitalRead(D8));  // then invert it back after 100ms
      Blynk.virtualWrite(V1, LOW);
      //    });

    });
  }
}


BLYNK_WRITE(V2) {
  if (param.asInt() == 1) { // "SCREEN POS 2" act only on the HIGH and not the LOW of the momentary
    digitalWrite(D7, !digitalRead(D7));  // invert pin state just once
    timer.setTimeout(500L, []() {
      digitalWrite(D7, !digitalRead(D7));  // then invert it back after 100ms
      Blynk.virtualWrite(V2, LOW);
      //    });

    });
  }
}

BLYNK_WRITE(V3) {
  if (param.asInt() == 1) { // "SCREEN ROLL UP AND FOLD" act only on the HIGH and not the LOW of the momentary
    digitalWrite(D6, !digitalRead(D6));  // invert pin state just once
    timer.setTimeout(500L, []() {
      digitalWrite(D6, !digitalRead(D6));  // then invert it back after 100ms
      Blynk.virtualWrite(V3, LOW);
      //    });

    });
  }
}

BLYNK_WRITE(V4)  {  // SCREEN EMERGENCY STOP Set to your Buttons vPin
  digitalWrite(D5, !digitalRead(D5));  // Panic STOP on/off
    //    });
  }

BLYNK_WRITE(V5) {
    if (param.asInt() == 1) { // FUTURE FUNCTION act only on the HIGH and not the LOW of the momentary
      digitalWrite(D2, !digitalRead(D2));  // invert pin state just once
      timer.setTimeout(500L, []() {
        digitalWrite(D2, !digitalRead(D2));  // then invert it back after 100ms
        Blynk.virtualWrite(V5, LOW);
        //    });

      });
    }
  }


  void loop()
  {
    Blynk.run();
    timer.run();
  }
Code above belongs to the WeMos D1 mini Pro and the Blynk app and can be copied to Arduino IDE for upload to the WeMos ESP8266 board.
Download ZIP file with codes for Arduino IDE and SoapBox Snap here!
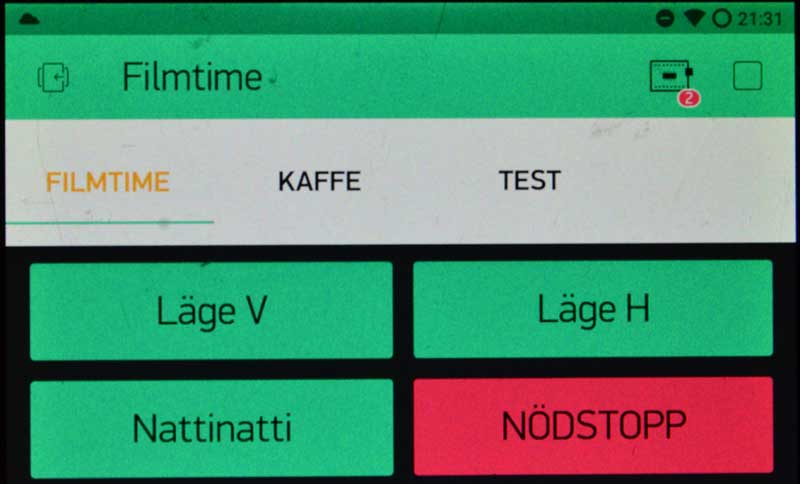
Image above: The Blynk app that is running in this case on my Android Nexus 7 tablet and is very basic. (Sorry for the Swedish labels. Läge V = Left position, Läge H = Right position, Nattinatti = God night = Roll-up and fold in, The red button is panic stop if anything goes bananas). In Blynk the buttons are configured as follows.
Läge V: V1 “Virtual 1” 0-1 Switch
Controls Arduino via ESP8266 .
Läge H: V2 0-1 Switch
Controls Arduino via ESP8266.
Nattinatti: V3 0-1 Switch
Controls Arduino via ESP8266.
Nödstopp: V4 0-1 Switch. Controls ESP8266 direct