
The DIY 6x12 Panoramic camera by Steve Smith
The chance purchase of a Schneider Super Angulon 65mm lens started me thinking about panoramic cameras.�The lens covers the 5x4� format so a 6x12cm format on 120 roll film seemed ideal.
I have the use of a CNC drill/router as used in the manufacture of printed circuit boards so I planned the camera around the materials which could be cut with this machine.�
I couldn�t build every part myself so some parts were taken from a defunct Mamiya C33 camera such as the rollers which guide the film over the film gate and the threaded tripod mount.
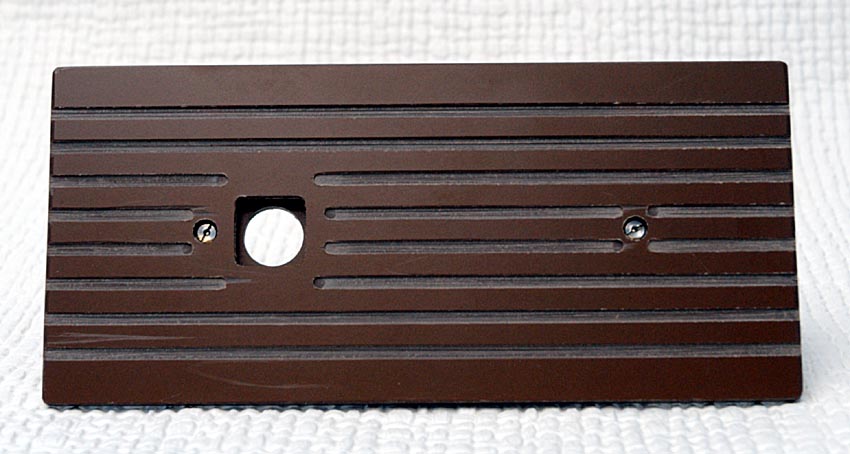
The film wind mechanism was taken from another broken camera. I decided to make the camera modular with a removable film holder/film gate assembly.�This was made from four layers of 9mm thick grey PVC as shown below.
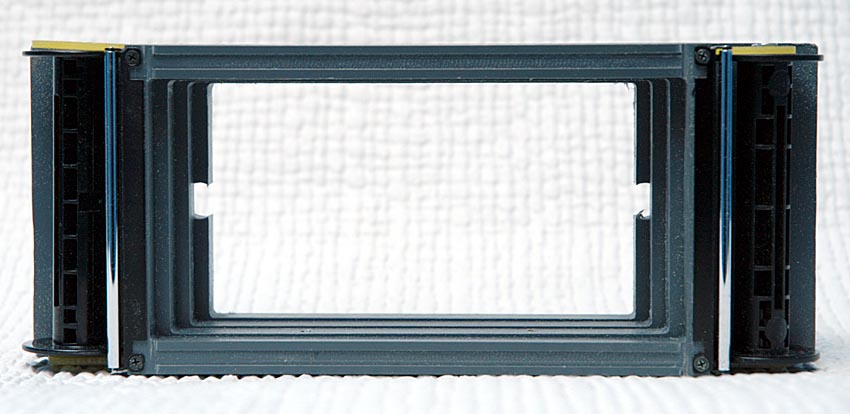
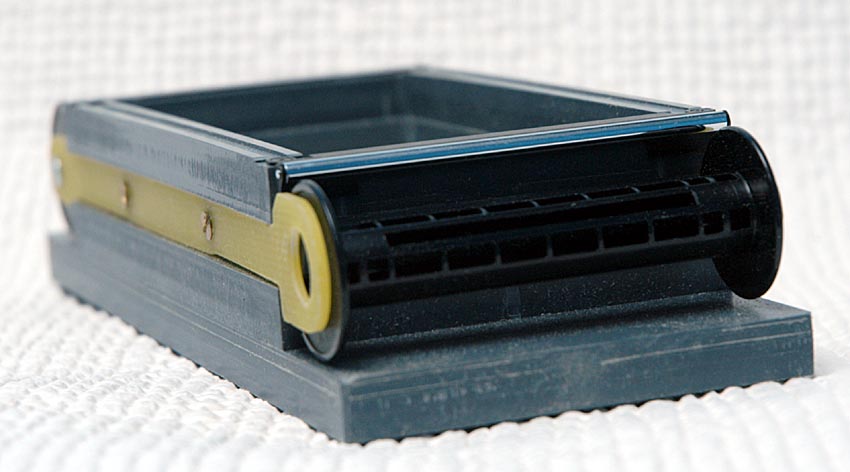
The light green material from which the spring parts holding the reels are made from 1.6mm FR4. This is the material printed circuit boards are made from. The Mamiya C33 rollers can be clearly seen. The large hole is for the winder to engage on the spool. The other three positions have spool holding spindles.
I had originally planned the camera to have the lens fixed at the hyperfocal distance for f16. It is such a wide angle that there will be plenty of depth of field. Also the £240 price ticket of the proper Schneider helical focusing mount put me off somewhat.
After a while I started looking at the focusing mechanisms of 35mm camera lenses and following the advice of an APUG member who had built a wide angle 6x9 camera, I bought an Olympus 50mm lens with a broken aperture mechanism.
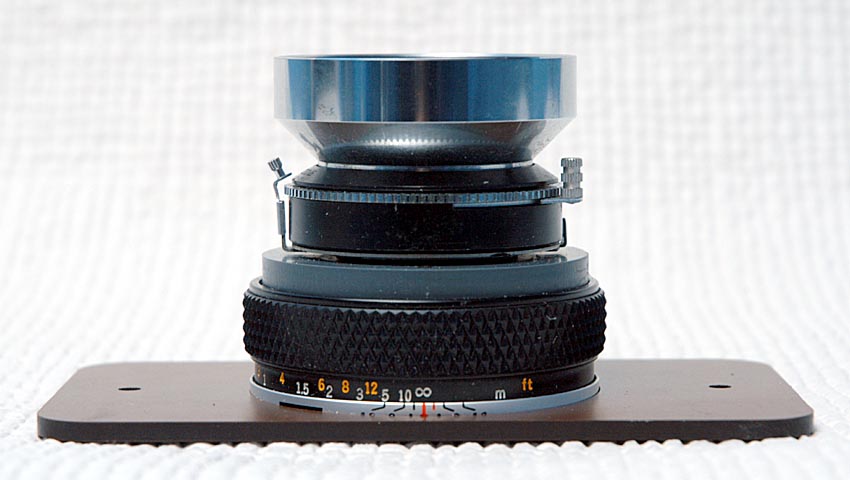
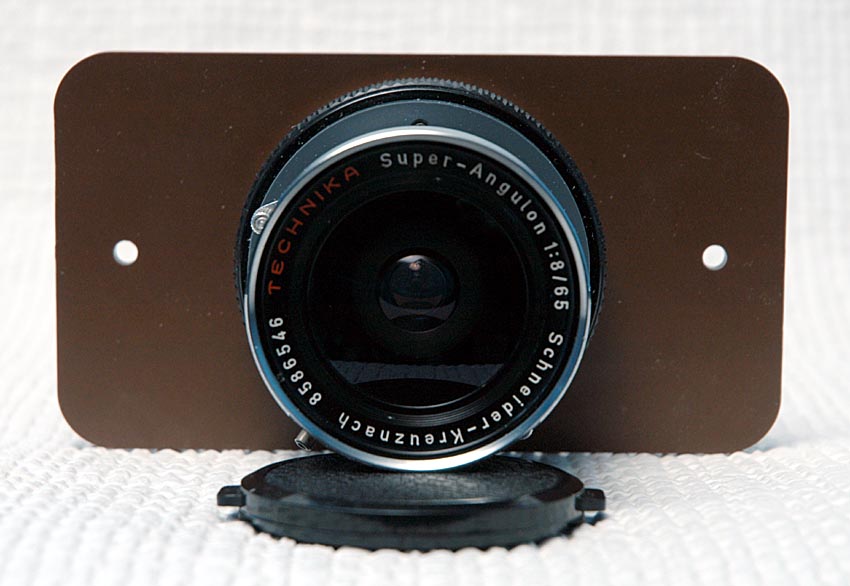
After stripping it down I realised that the 42mm wide rear element assembly of the Schneider lens would just fit inside the inner helical of the Olympus part as it had an internal diameter of 43.5mm.
The pictures below show the Schneider lens mounted on the Olympus focusing mechanism via another piece of CNC machined 9mm PVC. The whole assembly is mounted on a laminate lens board which can be removed from the camera body.
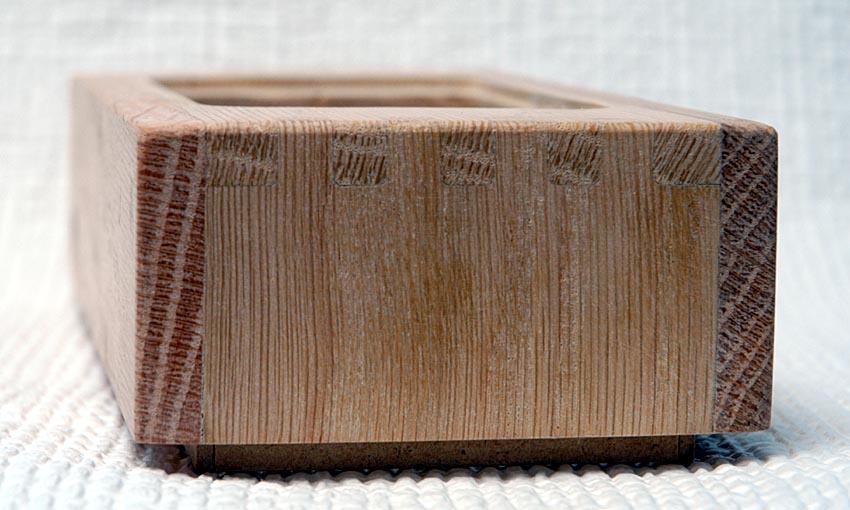
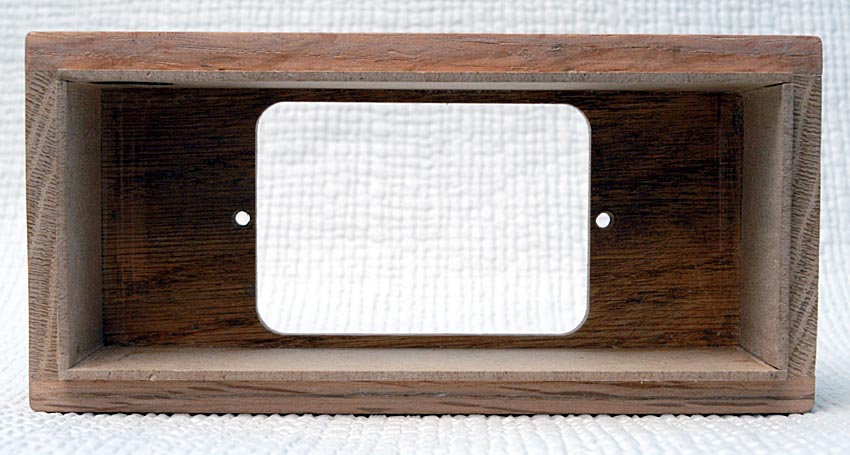
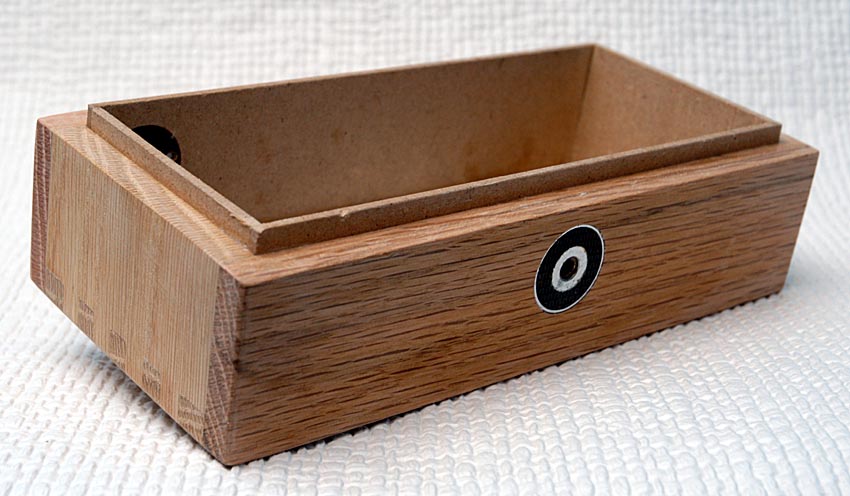
The camera now needed a body to put these parts on. I had some 3/8” thick pieces of oak which I thought would look nice so I attacked those with the CNC machine and made some perfectly fitting finger joints which I could never do so well with hand tools.
The wind mechanism will be fitted to the top and the tripod thread to the bottom. The recess on the front is to take the lens board and the two holes are to take the bolts which will hold the lens board on.


The springs were also taken from the Mamiya C33
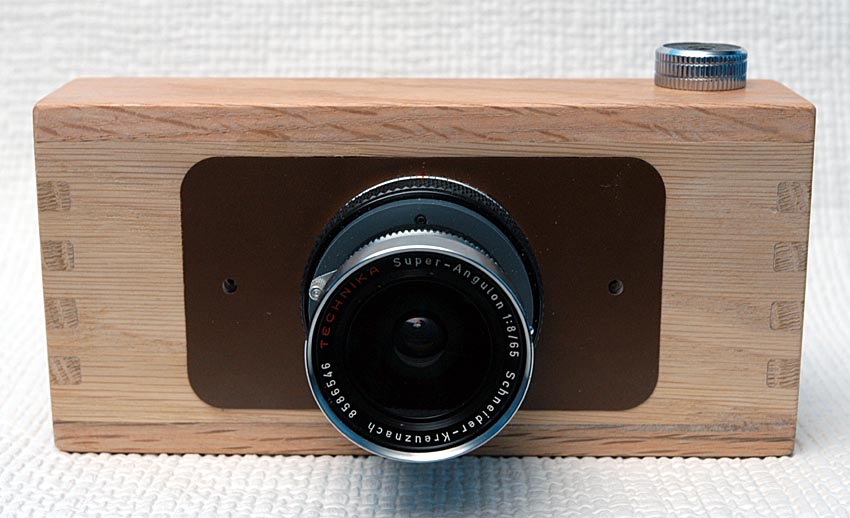
The lens assembly in place on the front of the body.
Film winder knob also shown in its approximate position.

The next item I needed to think about was a viewfinder.�The angle of view is similar to a 21mm lens on the 35mm format (about ninety degrees).
Voigtlander make a viewer which could be used if masked at the top and bottom but at around �100 I decided to learn about optics and build my own.
Using trial and error and a selection of lens elements acquired during various failed lens repair attempts, I found a combination of elements which gave me the view I wanted.
A card mask behind the front element made the image look to be the correct 2:1 aspect ratio.�It will be mounted in something cylindrical and will have an old flash shoe fitted so it can be mounted on top of the camera in an accessory/flash shoe
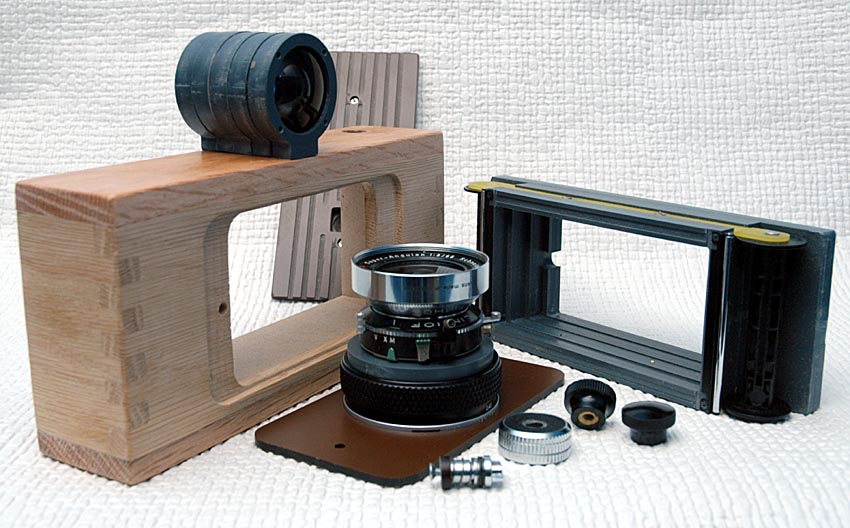
The following picture shows all of the parts made or acquired so far. The item at the front is the film wind mechanism which fits into the bush already fitted to the body. Also shown in front of the film gate are a couple of threaded knobs which will be used to hold the lens board to the recess in the front of the body. I have plans for a hand held 5x4” camera using this lens too so the lens board will be swapped between the two
The work on the camera is still in progress. More will be added to this page when available.
All cred and to Steve Smith for all text images and work [ http://stevesmithphoto.webs.com ]
Free hosting & domain name. 1000MB and .com or .co.uk domain free for 1 year.
Limited time only. Check www.one.com for more details