
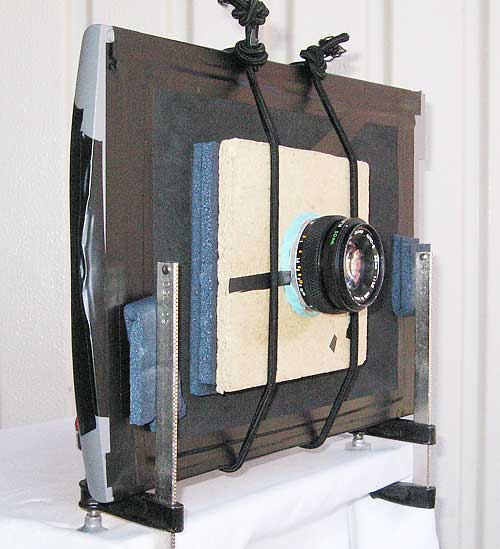
 Initial tests is done with stuff laying around, like this 50mm Olympus OM lens.It has been adjusted to a lens to film/sensor distance accordingto a wiki page about Olympus systems and is 46mm
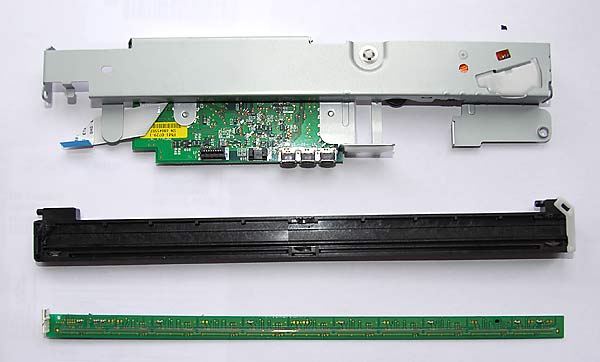
The metal part at the top are holding the transport mechanism and the controller board, I masked the shiny metal with flat black electrical tape, but later on I will probably paint it flat black instead!

I used black paint to cover the LED.
The thin golden line on the green circuit board are the CCD array.
I also used flat black electrical tape to mask the green circuit board along the CCD to avoid reflections from the board.
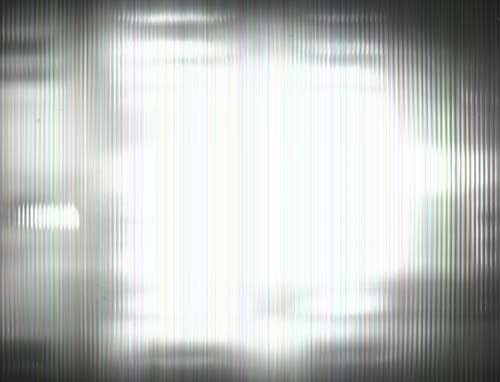
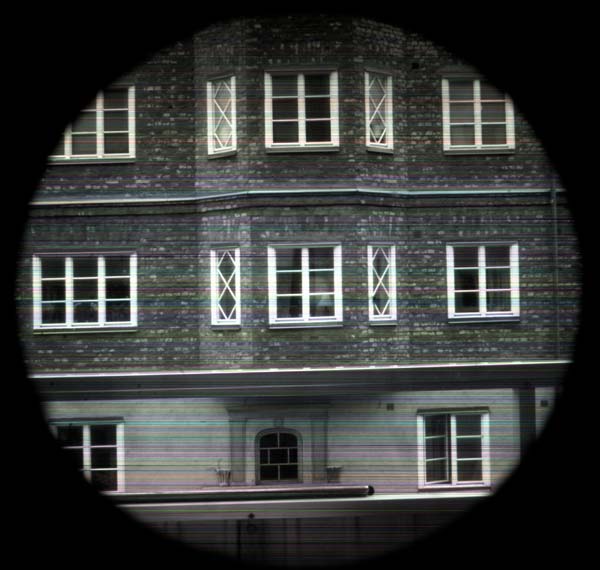
Not so nice huuu, badly focused and over exposed!
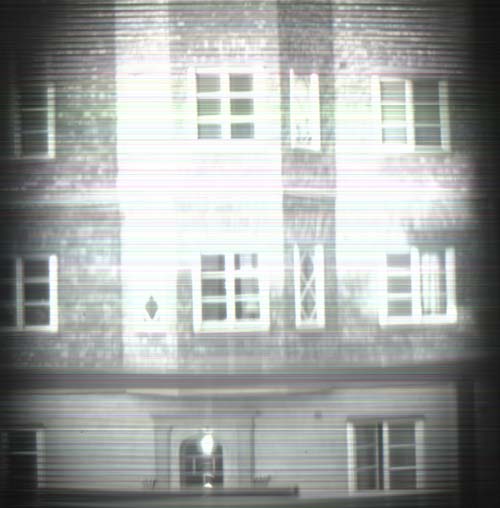
happy enough!
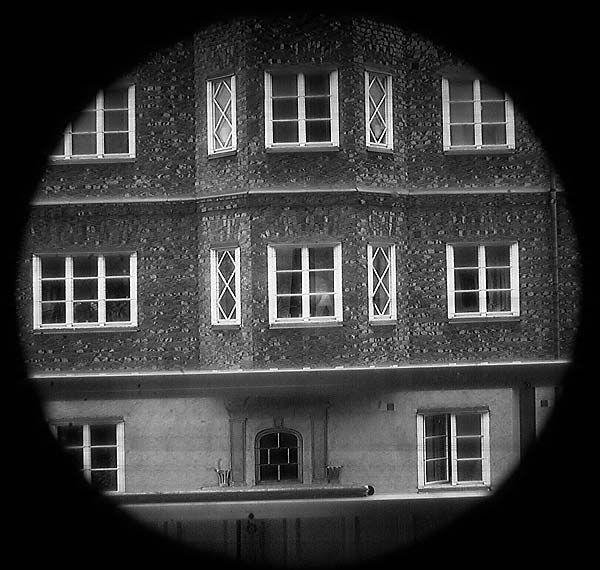
the Olympus 50mm lens, on this picture I did put a black cardboard
with a small hole in it to decrease the aperture of the lens, and yes it
looks better :0)
But I cant figure out (Yet) how to modify the hardware to get rid of
them, so I did a research for software solution and finally I found
EFT tools and Scanner streaks removal plug-in, picture above is the
same one as #3 with EFT filter+B&W filter+Un sharp masking applied.
And it looks quit decent :0)
Now I have to make a bellow so that I can attach the 90mm Caltar lens
to this scanner monster I looking forward to that and will post results her as soon as I get some test shoots produced!
I also have a newer Lide 60 scanner that seems to be a faster scanner
than the 25 but it doesn't run on Vuescan after modification :0(
Butt, it looks to run happy with Linux and Xsane so I guess I will use that solution for that scanner.
The latest Lide 70 scanner from Canon (Yes I bought that one too) doesn't run ether on Vuescan or Linux Xsane, driver for Linux is under development.
I have tried to help the development by de solder the Lide 70 to reveal the chip used if you are a Linux hacker and interested about this matter please take a look at this: [Link to a picture of the circuit board here]
-
EFT tools (To remove scanner streaks)
-
4N6site (free fourier transform plug-in possible to use for scanner defect removal)
-
Ubuntu (The linux distro I use, comes with Xsane and Gimp)
-
Gimp (Photoshop like image editing software for free linux/windows)
-
Xsane (Scanner software for linux)
-
Mike Golembewskis scanner camera (I found my inspiration from this page)