

Having struggled with arranging the legs of a tripod in the severely limited space of various small portable photo blinds, I finally figured out that a self-standing, fixed size monopod would give me a lot more room, be easier to setup and simple to make.
In this day of near-universal camera image-stabilizers, especially in the long focal-length lenses used for wildlife photography, it’s no longer absolutely necessary to have a rock-solid camera support all the time (nice to have, but not strictly necessary). A little motion is rather handily compensated for by the internal mechanics of the camera system. Note, however, that, if you need stability for longish exposures, this support may not be sufficient even with an image stabilized camera. I rarely use shutter speeds of longer than 1/125th and even that is very uncommon, birds simply don’t often stay still for that shutter speed to make sharp images no matter how stable the camera is.
Simple hardware-store variety supplies and only minimal mechanical skills are needed to get this item built: you’ll need measuring tools, a drill, a saw, and a couple of hand tools at most. You can get a lot of the material pre-cut by the supplier/store. The only moderately critical dimension is the length of the drain pipe to go with your blind(s), tripod head and camera/lens system. I just stood the pipe in the blind with me and marked the approximate length that would seat the lens just below the blind’s opening and made a 4 to 5″ (10 to 12cm) allowance for the height of the base and the feet, the caps, the head and the lens foot. You could do the same thing with a tape measure, a long rule, a stick or a piece of string. For me, accuracy to within an inch or two (2.5 to 5 cm) on the length was good enough. Be sure to use the seat you would ordinarily use in the blind for this estimation.
Materials:
- 3″ diameter (~7-8 cm) plastic drain pipe (ABS or PVC or whatever is easily available and reasonably stiff) about 3′ (~0.9 m) long with matching flat end caps. I found ABS.
- Baltic Birch plywood or anything similarly stiff of about 18″ (45 cm) square.
- Assorted screws sized for the thickness of the base and the wall of the pipe.
Some construction notes:
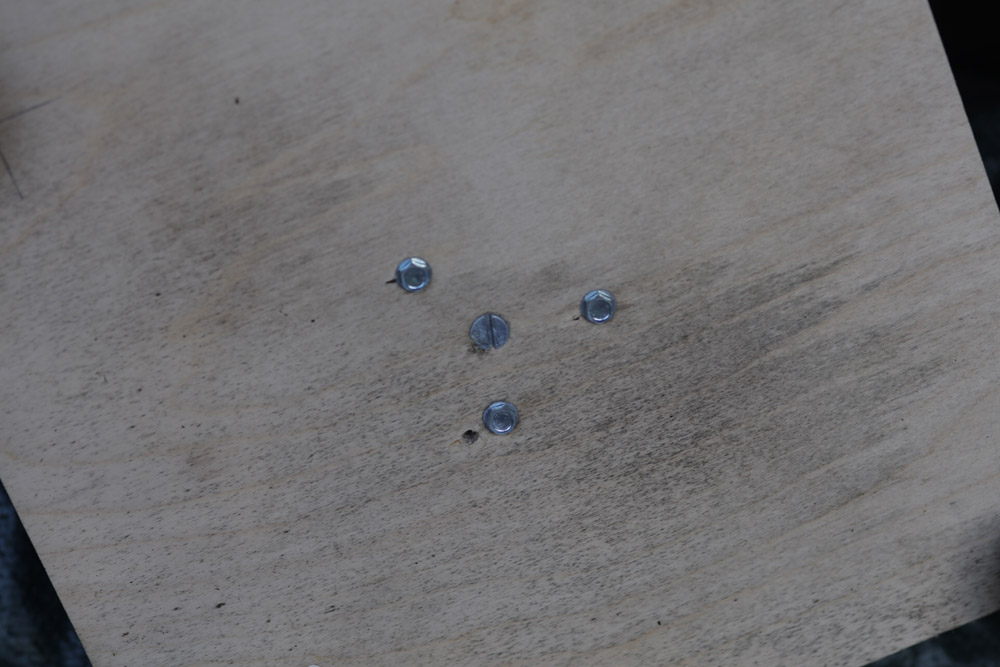
- The bottom cap needs extra screws to minimize flex. I initially used one 3/8″ (~10mm) machine screw and nut with a large washer in the middle of the bottom, but then added 3 self-tapping screws around the edge of the cap for attaching the bottom plywood. The large screw did not provide enough stiffness at first, so I added the 3 perimeter screws.
- Attaching the column (drain pipe) to the bottom cap needed two sets of screws: I used 3 at the lower end of the cap and then added the 4 at the top end because I ran out of the larger screws. See the photo.
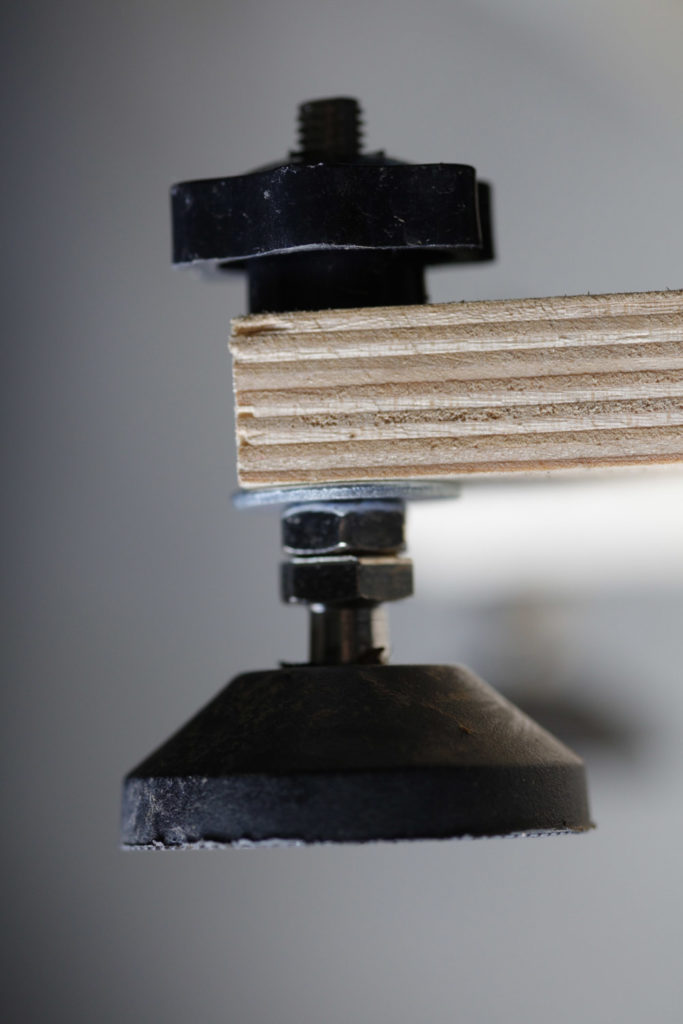
- I intended to use the blinds on rough ground and figured that adjustable feets would be needed to stop it from rocking in any given situation, so I bought a set of 4 threaded 8mm rods with large plastic feet and matching threaded plastic knobs to go in the corners. Adjustment can be done by hand, no tools needed in the field. The threaded rods have hex nuts and washers below the plywood base to set adjustment height and the plastic knobs lock them. See detail photo.
- The top flat end cap has only a clearance hole for a 3/8″ screw to mount the “tripod” head.
- I used self-tapping sheet metal screws and pre-drilled clearance holes in the plywood base to allow the screws to tap into the bottom cap from below. Also, the sides of the lower end cap were clearance-drilled so they would tap themselves into the column.
I used Baltic Birch plywood, 3/4″ (10mm) thick because it’s stiff, flat and stable. The piece I used was left over from another project and was about the right length and width to stabilize the column, estimated by eye. It happened to be about 1/2 the length of the column, which seems right to me and, since it is on the floor of the blind, it’s out of the way of my feet so it doesn’t really matter in terms of the space it occupies. As long as it fits the blind and is big enough to keep the column upright with the camera system in use, it’s good enough. It will probably be close to or in contact with moist earth, so may warp; I don’t know how much of a problem that may be.
I ordered threaded adjustable feet which have wide round plastic pads on the ends for the corners. The column is 3″ (~7-8 cm) diameter ABS drain pipe with flat end-cap fittings. The caps have flat surfaces convenient for solid mounting, one to the plywood base and one for the head. The mount to the base is probably the most critical as it should be as stable as possible, so I use one 3/8″ (~10mm) through-bolt and nut in the center with a large washer inside the cap and 3 of the self-tapping screws around the periphery of the bottom threaded into the plastic. After that cap is attached, the main column drain pipe is tightly seated and then it is screwed to the cap with 7 screws directly into the plastic pipe (4 and 3, high and low on the cap). (I don’t have sizes, I just picked out some left over from other jobs that looked appropriate.)
I set the assembled column with the head in the blind to get the proper height to cut it for the opening and my sitting position.
The head is attached to the other end cap with a standard 3/8″ machine screw or exactly the right length and the cap is seated not-too-tightly, without fasteners or glue so it can be removed to change the head or for some other reason. It will take some hard blows on the cap to get it off, so keep that in mind, if you think you might have to remove it in the field.
A handle at the balance point or a mount for a shoulder strap would make it easier to carry.
If you have the skills and the means, to get more stiffness, you could also use even larger diameter drain pipe or steel or aluminum tube and plate. You could even work out a way to make the height adjustable with telescoping tube sizes and various clamping arrangements. For my case, the materials, sizes and weight seemed to be a reasonable combination of support, stiffness, leg-room, cost and my limited skills and tools.
Project By Frank Kolwicz. Thank you Frank!