
Why consider a solid tool post?
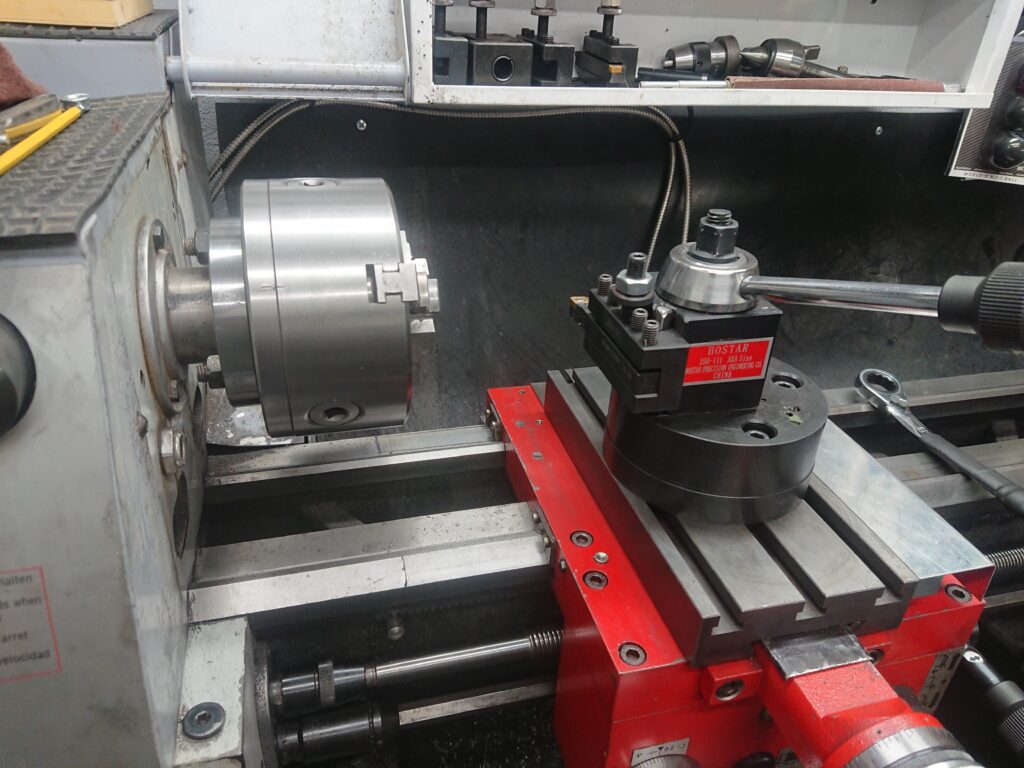
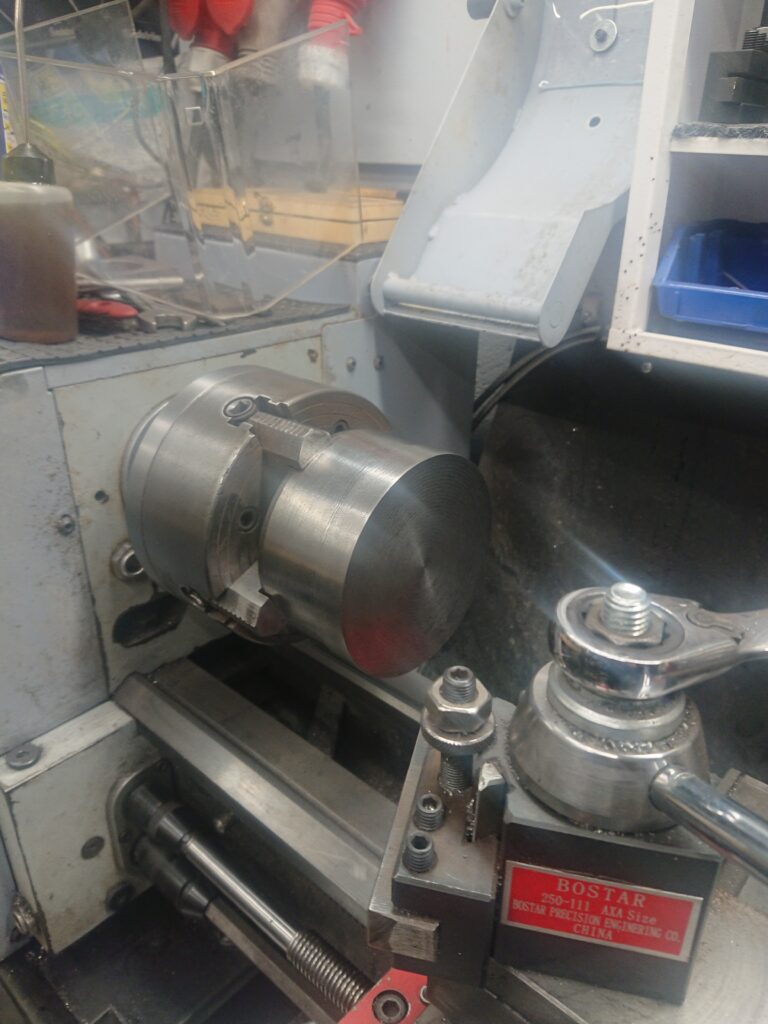
My solid tool post in installed an ready to work!
Well from what I heard and what I think after been reading a lot about solid tool posts and also watched quite a few videos at the regular place is that we can expect is a mor rigid coupling between the cutting tool and the work piece.
The second argument which I came to conclude during the design of my take of a solid tool post is that it sorts out a minor issue that I found out when changing out the stock tool holder with a Aloris style quick change system.
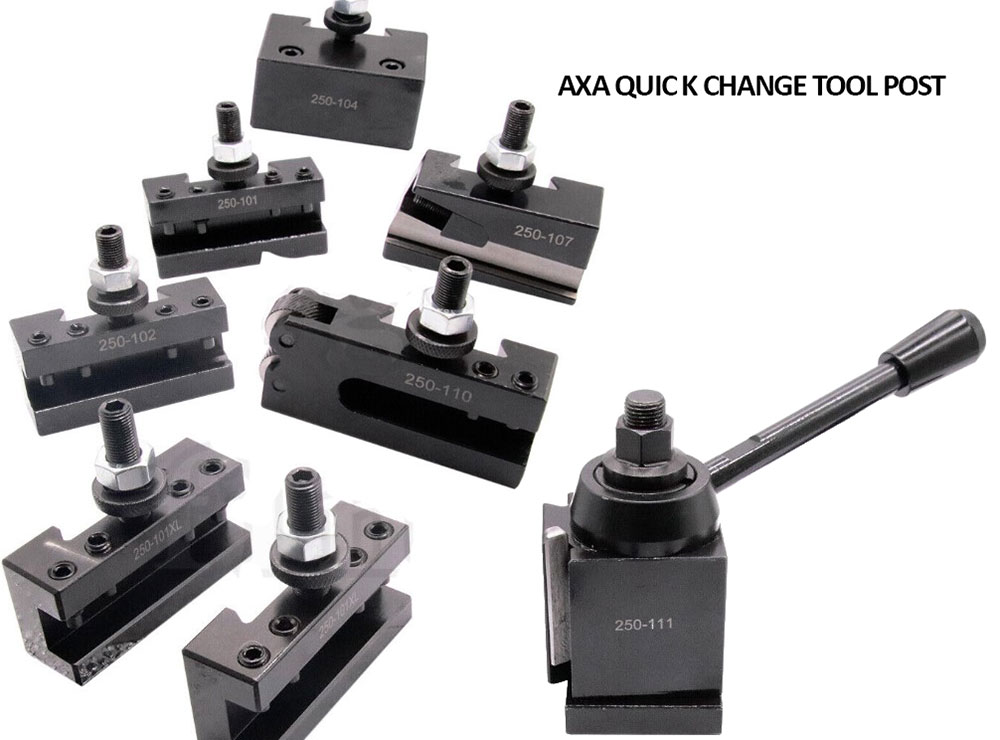
I bought on advice the AXA sized QC (The set above) and it works just great* however I found out that most of the time the height adjustment bottomed out to get the cutting edge at the center of turning. Now since I was about to make a solid tool post I hade the chance to address this so I did! I know that there are other ways to solve this problem and that is to buy “slim 250-101 tool holders” but they are hard to get and comes in a limited amount of styles.
Getting the stock for this project
Most heavy duty machines are made out of iron castings and the reason is that part from being high mass it is also have good qualities in regard of vibration dampening as well as being stress free and therefore does not warp easily. With this in mind I started to look for a cast iron slug and came across vintage iron Balance weights!
I found out that a 10kg cat iron weight could be had for about 10euros at the flea market so I aimed for that and quickly found what I needed :)
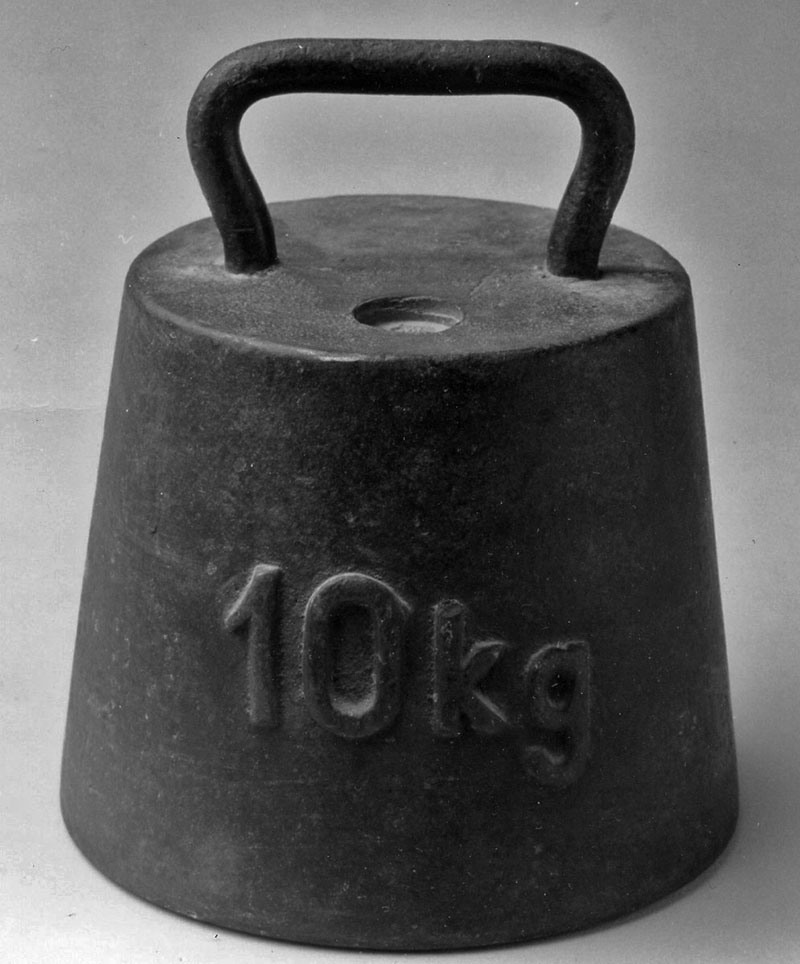
This is the weight I got the easy task was to cut of the handle then I chucked it up the best I could to be able to part of a suitable chunk.
The base of this weight was just a bit wider than the cross slide T-slot plate so it couldn’t be better.
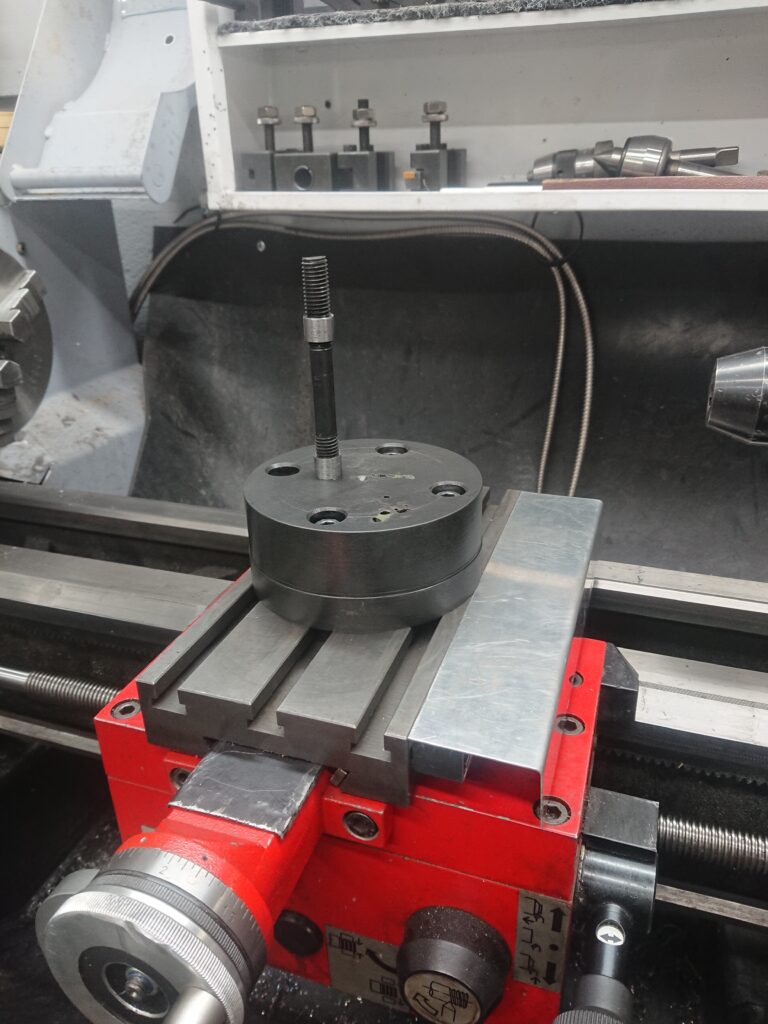
the original compound slide have the tool post mount at 63mm above cross slide.
Based on this and my wish to make this solid tool post a bit lower than the original to give me headroom for larger tools and some other cool things that I have in mind made me aim for a height of about 50-55mm I ended upp with 52mm this number is in no way magical so you may chose what suits you ;)
Machining cast iron will get you dirty
In fact the whole workshop will become dirty as well as your lathe so make sure to protect it with whatever you come up with. Cast iron will NOT produce chips it will produce black dust.
On the positiv side of the coin you will find that it easy to machine evet thought you can’t expect any mirror finish. Machining a iron weight like this will discover two things.
One the top of the weight has a recessed circle and this is a cavity used to calibrate the weight so count on that and expect to have a hole at that location to take in to account.
Two The quality of the Iron used to cast this kind of weight was never intended to become machine parts so expect some porosity (You can se some on the top of my tool post).
Both of those problems can be overcomed by filling the voids with some steel epoxy or epoxy mixed with some of the cast iron dust you produced while machining your tool post.
First steps chunk parted of with some margin until….
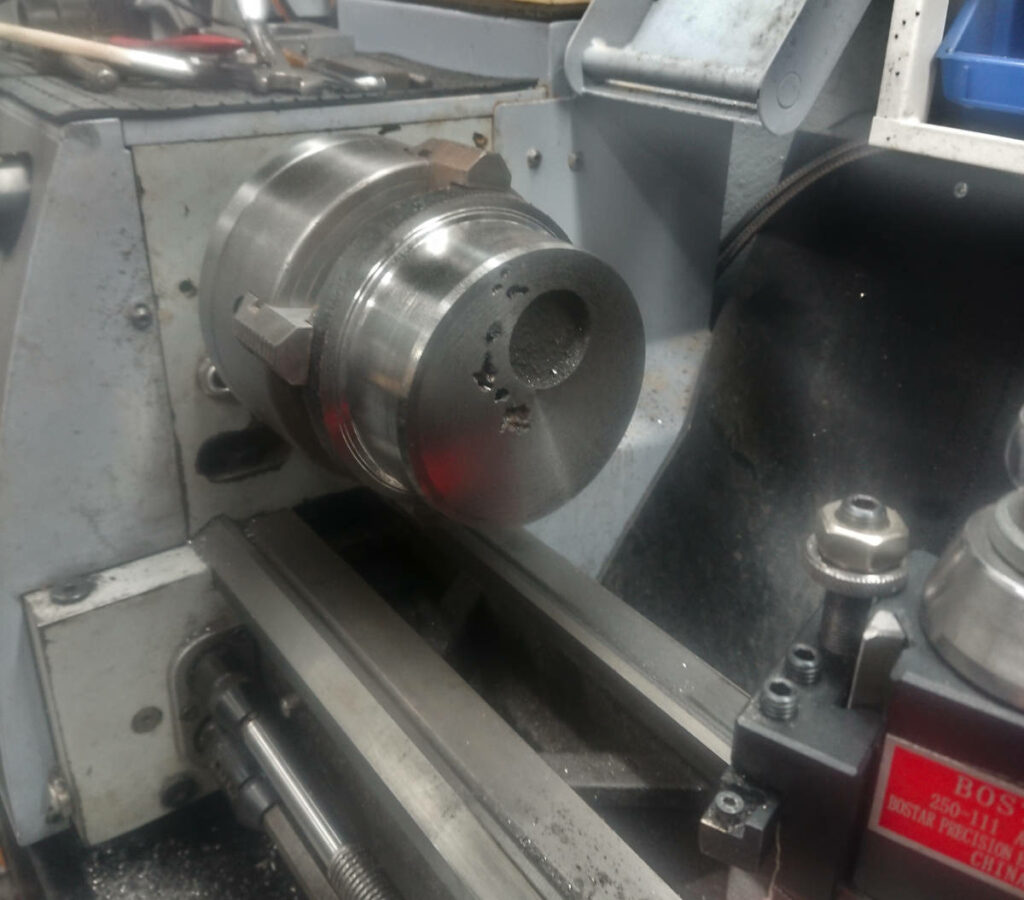
I chucked up my cast iron chunk with the wide end in the jaws. Then I parted it off but left enough material to decide what side to do the main machining on, this since I didn’t know what to expect when I started to machine the wide end of the piece!
At this stage I turned the to be tool post around to face and clean up the wide end.
Looking better on this side but I still going to use this face down.
Jumping fast forward here since…..
Hmmm.. drilling and counter bore for the T-slot screws is nothing to show so I jumped a bit forward to show this picture. You can clearly se that there still are some defects in the casting visible. I went for a M12 bolt as this is what was stock, the Bostar QC however wants 14mm+ so I made some temporary bosses to address the play.
I later made a full length bushing/sleeve and I have considered to go M14 but I’m not suer if that is needed.
I blackened the tool post with Blackfast 181NF to make it look a bit better. I may or may not take care of the casting voids in the future but the do not affect the functionality.
Finished product the solid tool post ready for action!
The solid tool post chunk mounted to the cross slide with 4 hex screws An I can assure you this is far more stable and vibration free than with the compound slide installed and even if you lock the gib solid on the compound.
I highly recommend to any owner of a small or mid size lathe to try this on my Emco Maximat 11CD it made a world of difference in rigidity.
My version is by no mens better than any other and I can assure you that find way more fancy versions of this mod if you browse the www but this works for me and I want to encourage you to make your version and make it suit your needs because this was so worth it!
Note: When done with this project I wanted to do a small test with putting a 2mm carbon fiber plate between the QC and the solid tool post to se if that could further reduce vibrations. How dit it go?
Well the CF shim is till there it might be psychological (like snake oil) so I will try to do some measurements in the future to stay sane ;)
*after some modifications as it was a CE (China Export) product will post a write up about my mods to stay tuned.