
Canon canoscan 9000F review by Stockholmviews.com, page 1
Canon 9000F review Introduction
The Canon CanoScan 9000F review will completed A:S:A:P.
I have started to review the scanner now and will try to have material of the review published continuously as it get ready.
By the end of this month I hope there will be enough information so that you can find out what to expect from this scanner. however there will be further material added to the review in a few more months just to do this Canon CanoScan 9000 review properly :0)Enjoy /Stefan
My work with the review proceeds and will be published at about 25th July 2010
For now I have some first scan teasers for you :0)
Enjoy/Stefan
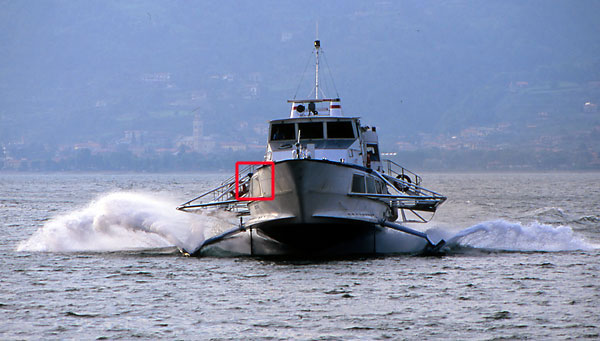
Boat above shot in Lake Como Italy on Velvia 100 the scanned at 4800dpi on the Canon CanoScan 9000F.
 |
 |
The result straight from the scanner |
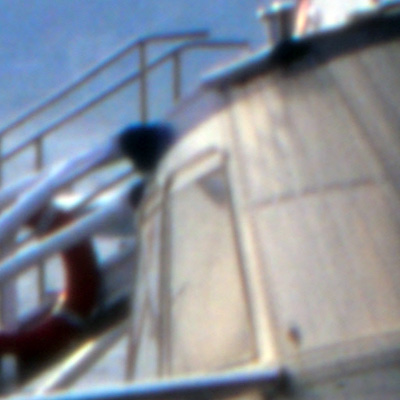
The result of a 100% crop from a |
 |
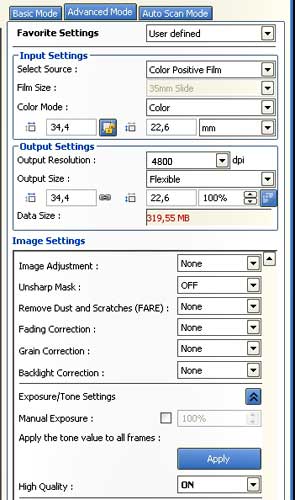 ScanGear settings panel - "Advanced mode" |
The result of a 100% crop from a |
Settings for all scans performed with ScanGear software was like in the screen shot
above at the right output color space used is sRGB IEC61966-2.1. this also applies for
the IT8 target scan below.
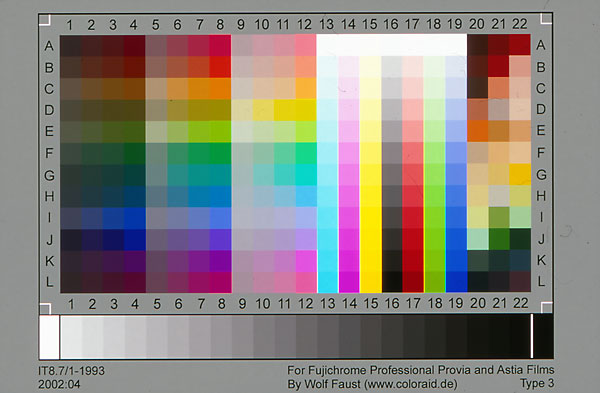
IT8 target (Slide IT8) scanned in ScanGear with the Canon CanoScan 9000F.
More about this later in this review.
I will not spend my or your time on tech specs or "what's in the box" related info.
You can get that from Canon directly [ Here ]
But in short, Canon 9000F is a flat bed scanner with film scanning facility's.
And this scanner uses a new LED light source for the film scan facility.
I will not dig in to reflective (Paper) scanning as any scanner would
be able to output high quality in this area, so I would once again waist
your and my time by review reflective scanning quality.

I have 3 other canon scanners on hand for comparison. The Canon Canoscan 8600F flatbed/film scanner. |

Scanning slide film (what I rely care about)
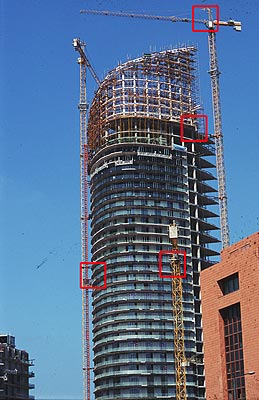
Velvia 100F 35mm slide (abused but this does not care in this review)
Red squares are crop positions for compared/analyzed areas.
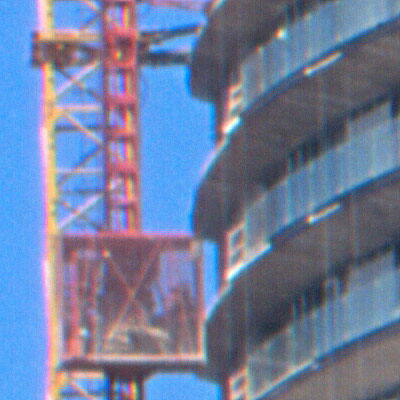
Focusing on the focus.
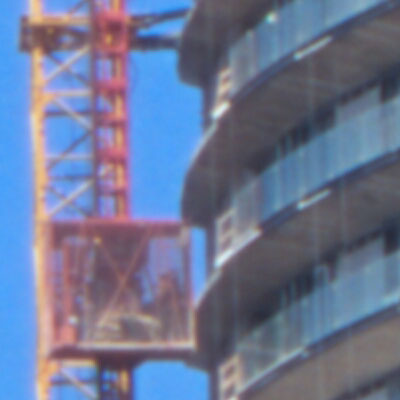
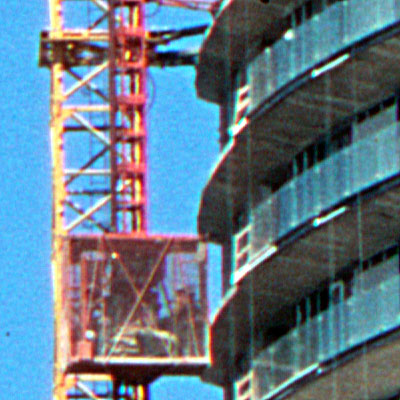
In this series of crops of the lift basket (Mid left position of the overview image above) I will try
to determine if the Canon 9000F I just received is properly focused for film scanning.
I will try different distance to the scanner glass to find out where the sweet spot is.
The slide used in this test is mounted in a thin 1.5mm 35mm Slide mount.
Unless stated in text below images, no sharpening applied in scanner software or
in post processing and all crops are saved in jpg high.
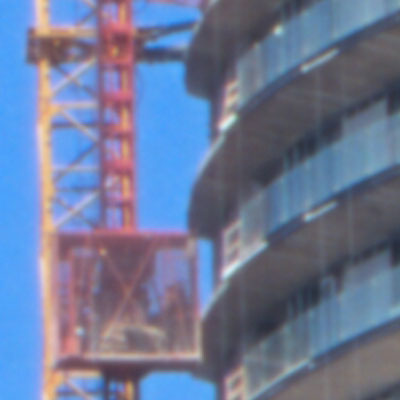
Film in normal position
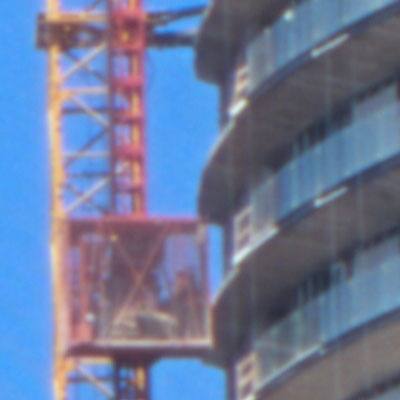
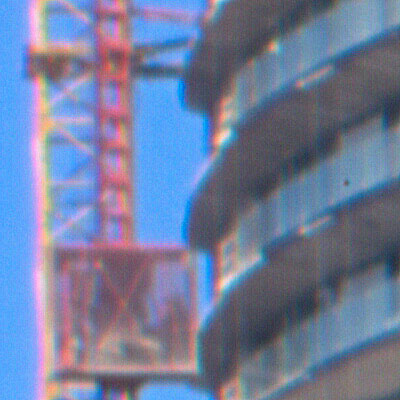
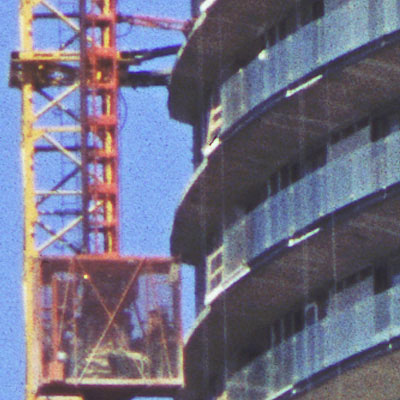
Slide mount 1mm above the glass.

Slide mount lifted 2mm from the glass just to be sure that up is the wrong way to go!
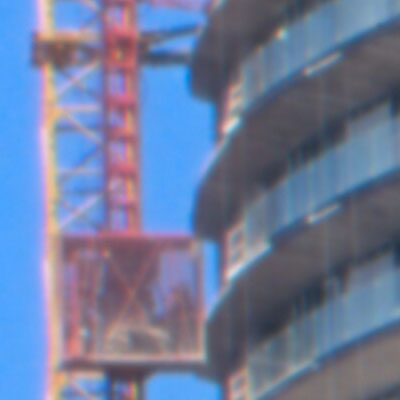
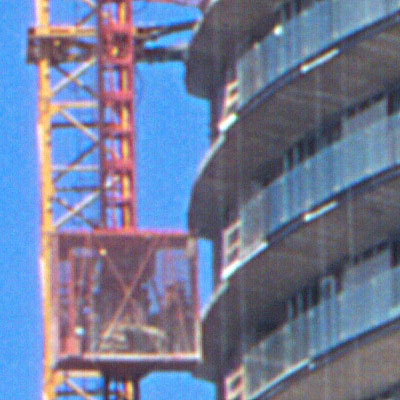
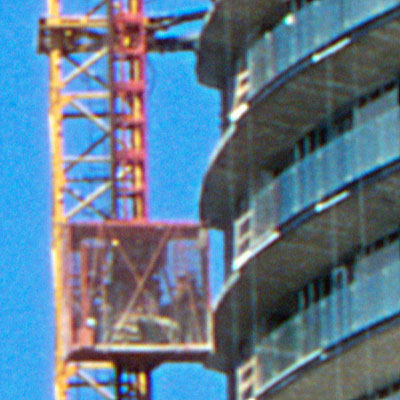
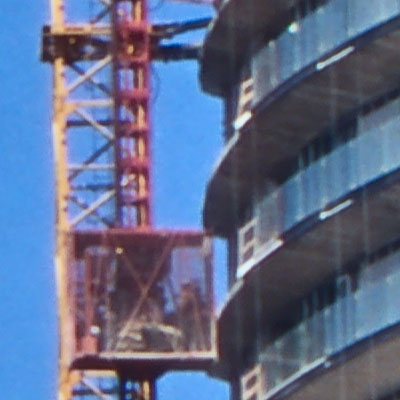
One half of the slide mount removed. This puts the film about 0.3mm closer to the glass. This was a small but noticeable improvement.
My conclusion of the 4 images above
and the one to the left is that best
focus is found on or at a close
distance above the scanner glass bed.
This indicates a shallow depth of field
and I if you intend to scan mounted slide film I would suggest that you
try to get your slides mounted in thin 1.5mm or less mounts.
The film strip holder supplied with the
Canon 9000F holds the film at a distance of 0.9mm above the glass.
My feeling is that this to distant to
the glass. But this might just apply to
my 9000F unit for others it might be
just perfect. (Manufacturing tolerance!)
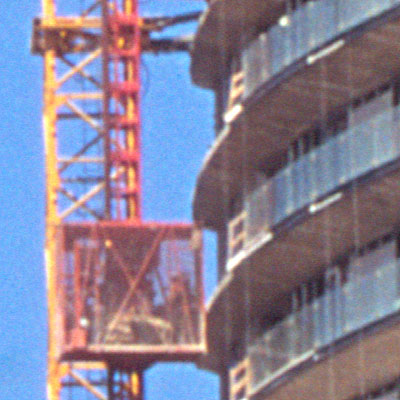
Above, Film laid directly on the
glass bed. Now this looks almost
identical to the previous scan*.
(*The one with the half slide mount removed)
Image to the right ->
Slide mounts comes in several
different shapes from 1mm to 3.5mm
in thickness.
From left to right: Kodak 1mm paper frame, Gepe 1.35mm Hinged glassless, Generic 1.5mm glassless,
Old homemade glass mount 2.5mm,
Gepe glassless for diy mounting 3mm,
Old Lifacolor 3mm glassed, Gepe 3mm glassed metal mask mount, and far right a generic glassed 3.2mm frame.
My tests have shown that the
1-1.5mm mounts would be ok while
the thicker ones will degrade the scan sharpness quite a bit.
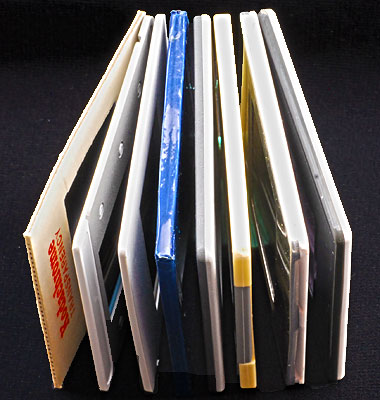
Various slide mounts.
Focus on the focus part 2
Part 2 of this test is the same images as above with the difference that they have
some sharpening applied (Same as for the Canon 8800 review Amount=400 Radius=2,1 And Threshold=0)
Film in normal position.
USM applied.
Slide mount lifted 1mm from the glass. USM now applied.
Now when th images are sharpened you can clearly se that this is worse than the default position. This also means that a thick slide mount wouldn't be the suitable for this scanner.
2mm above the glass, huuuu!
As above. One half of the slide mount removed. This puts the film about 0.3mm closer to the glass compared to the default 1.5mm slide mount. This was a small but noticeable improvement. Even more noticeable now when the USM is applied.

When sharpening was applied it was even easier to se that the best place
to put the film is directly on or just a few tenth of a millimeter above the scanner glass bed.
Film laid directly on the glass bed as above. Now with USM applied this still looks almost identical to the previous scan*. (*The one with the half slide mount removed)
Canon 9000F Compared to other Scanners!
I have owned several different scanners and all of them from Canon below I will compare the scans I made with those scanners.
The contenders is Canon CanosScan 9000F, 8800F, the trusty old 9950F that I
still own and the best filmscanner ever made by canon (Prosumer grade) the FS4000US
that I also still own. Later I will add a scan done with a High end Imacon just to se how embarrassed those cheap scanners will look :0)
Canon 9000F
The result of a 100% crop from a
4800 dpi scan. Sharpening applied in
post process. *R2,1 A200 T2
Canon 8800F
Same settins and sharpening as for
the 9000F
Canon 9950F
Same settings and sharpening as for
the 9000F.
9950F is unfortunately discontinued
other vice it would still had been the King of CanoScan flatbeds.
(Different light source "cold cathode tube" than 8800F and 9000F "LED Light Emitting Diode" )
Non of the flatbeds even come close
to this old but still going strong film
scanner the FS4000US.
No sharpening at all was applied to this scan it looks like this straight from the scanner
The crop is up sampled from a 4000dpi scan to 4800dpi to match the
size of the flatbed 4800 scans to make them easy to compare.
Above, this is where the Imacon test scan will be found.
I will post it as soon as it has been delivered from a friend that I have been asking to do the scan for me.
I truly looking forward to it!
A bonus sample from 9000F!
Crop above Scanned in Vuescan to a
RAW DNG file. Then imported to Adobe Camera Raw within Photoshop
elements 8* all sharpening and
adjustments then done in ACR.
(*PSE8 Bundled software with the Canon 9000F and Camera Raw is a fee plugin for PS and PSE)
Other Reviews of this scanner can be found here