
The Range Rover P38 Dual battery installation page.
A dual battery system that give some kind of power redundancy is welcome for many Range Rover P38 owners this is how I did mine!
|
 Join my Range Rover P38 Group now! |
|

Upgrading my Range Rover P38 with a dual battery installation.
During the winter I have my car parked at the airport in the northern Sweden for
sometimes up to three weeks without being able to drive it or to have the battery
connected to a charger. And quite often the mercury shows temperatures below -20C
where the car is parked.
We all know that a P38 have quite a lot of electronics that require power all time
this is a problem for us that are not using hour car for daily drives but an unknown
problem for they who doe's.
The last two winter I have kept a spare 70A car battery in my trunk along with
jump wires to be sure to be able to start the car when I arrive at the airport. This
is however not exactly convenient since I have to open the bonnet each time I get
there (I know it might me considered as, "Only a problem for the privileged") however to solve this issue
I have decided to upgrade my Range Rover with a dual battery installation whit a
battery selector switch and a battery charger system that are easy to handle and
doesn't require the bonnet to be opened.
Listing and images of the parts for my dual battery system
- 50mm2 (0 AWG) thin plated copper wire (Less prone to corrosion that bare copper strands).
- Battery changeover switch 4 position [Batt1] [Batt2] [Batt1+Batt2] [Off].
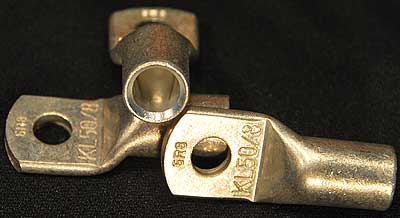
- Cable terminals.
- Diodes
- Switching battery charger
- A 2nd battery
- Maybe some battery monitoring system
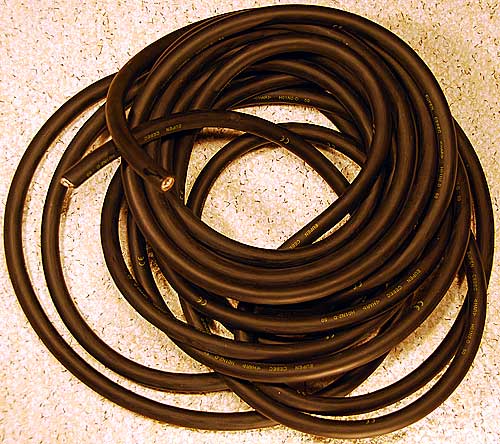
10 meters of 50mm2 tinned copper wire
I hope I bought enough.
My intension is to get a low loss system
despite the long wire run from the spare
tire compartment where I intend
to mount
my 2nd battery. I want to be able to start
my engine from this 2nd battery in case
of a long time parking situation that most
likely will drain my main battery.
I'm not sure yet where to run the wires they
are rather bulky those 50mm2 wires!
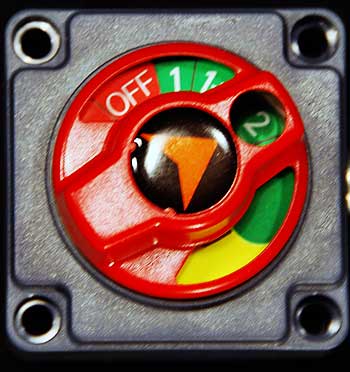
from a boat assessorie store and is a heavy
duty switch that can do this job well.
I will try to mount it at a convenient place.
The switch will allow me to chose between
Battery 1 or 2 or booth in parallel.
I can also disconnect both in case I want.
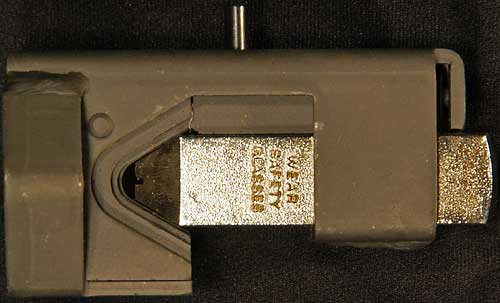
Heavy duty terminal crimp tool. This is the
low cost version that should be used in conjunction with a heavy hammer!
come in different versions so chose one with a hole that suits your needs.
Spin off effects from the dual battery installation project!
Since I de sided to put the 2nd battery in the spare tire compartment I felt that I
should get some alternative puncture recovery gear. I decided to buy a tire repair kit.I know that a kit like this isn't a complete replacement for a spare tire but I will at least be able to recover from small punctures caused by smaller tire damages.
For more adventurous trips I will still be able to throw a real spare tire in to my boot!
Removing the spare battery will save me space not only for the 2nd battery it will
also leave room for some tools and a portable 12V air compressor / tire inflator.
This is what I bougt.
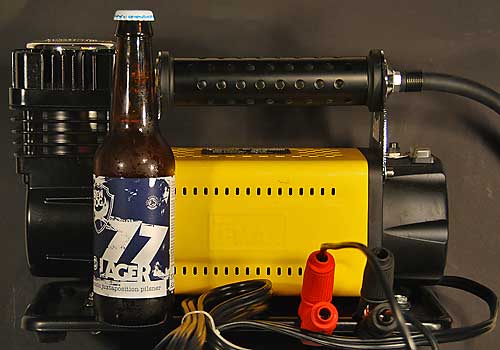 |
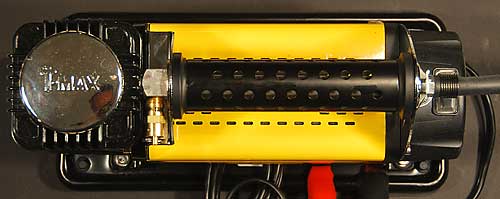
A portable 12V air compressor for tire inflating I went for a T-max modell P/N 8016601. Beer bottle for size reference only. I have bought several crapy tire inflators at petrol stations and various car acessory shops so I did expect this to be something different. It was at about 100euro the most expensive 12V compressor I have bought, however when I unboxed it and made my first test it actually exeeded all my expectations! |
  |
SPECIFICATIONS

|
|
|
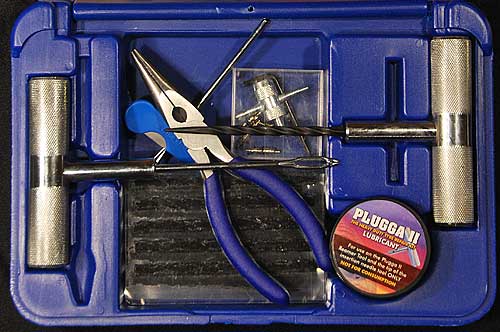 |
One more thing, the tire repair kit! I buy lot of my stuff at eBay |
 |
|
 |
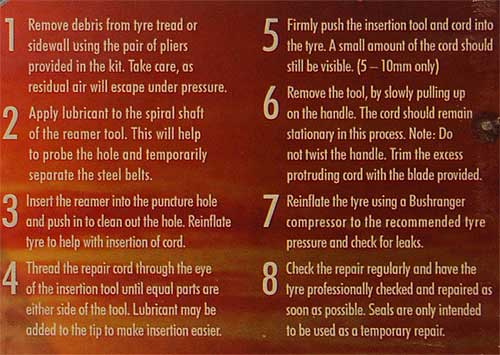
Plugga II instructions for tire repair. It's not that hard to perform. I guess most normal handyman would be able to repair a small puncture with this kit. The hardest part is probably to find and get access to the damage! |
Schematics and the actual instalation
This section will hopefully be completed during summer of 2011.
Until then I will keep adding stuff like schematics and different Ideas to this page soo keep looking back for more!
Free hosting & domain name. 1000MB and .com or .co.uk domain free for 1 year.
Limited time only. Check www.one.com for more details