
The Gigapan panorama photography robot review by Stockholmviews.com, page 3

Image above is my first shoot wit the GigaPan image+Nikon D60 combo.
The stitched image contains information from 12 images (2 rows of 6) and I ended up
with a 63 megapixel image @ 18683x3407px/in in a 182Mb large file.
If printed at 300dpi the print would become 158x29 centimeters or 62x11,4 inches.
Stitching errors can be found in the water but this is my first test and I will get back
to this subject later.
Setting up the GigaPan Imager for shooting
After the modifications to get the D60 camera body to fit the Gigapan Imager
I decided to do the first tests using my Sigma 70mm macro lens.
My first step was to mount the camera and lens and aligned the camera/lens combo
in accordance to get the nodal point correct.How to determine nodal point of a lens links: [ Simple Explanation] [Google search]
Programming the Gigapan imager
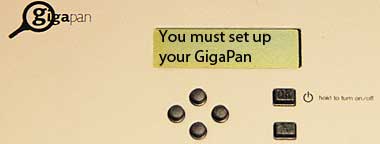
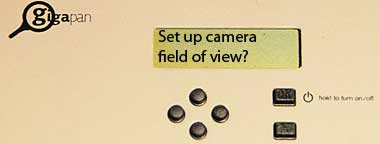
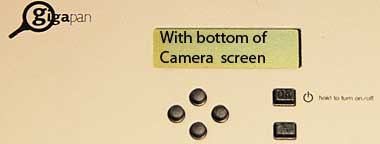
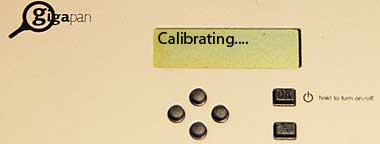
At first start of the Gigapan imager you will have to follow those steps to initialize
it and set the horizon reference before the first panorama can be taken.


after the first initializing of the Gigapan-
imager.
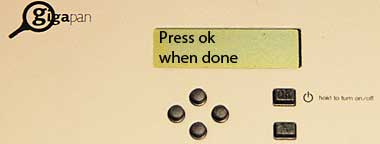
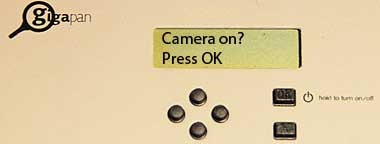
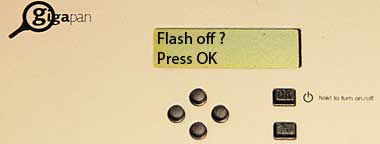
You should now press OK button.
After the OK button has been pressed you will get those messages and you just
follow the instructions to complete the initialization.


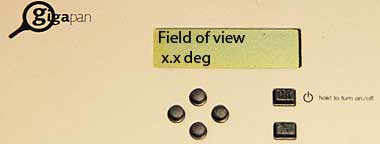
of your selected lens and focal length.
You are now ready to make the final steps to
take your first panorama.
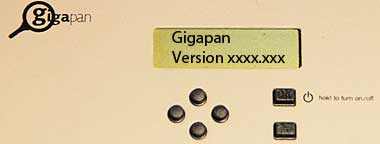
Press and hold the OK button down to turn on
the GigaPan and wait for startup the following information
will show during start up.


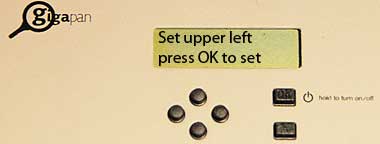
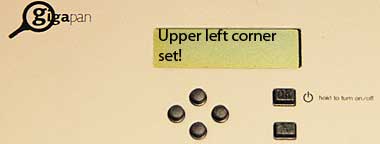
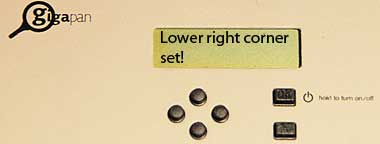
Select "New Panorama" by pressing the OK button.
Follow the instructions by using the left, right, up and down buttons
to position the camera for the panorama you are trying to take..


At this point you can chose OK to make the head move and show the panorama
movement pattern without actually taking any images.
If you are sure that everything is OK you can skip this step by pressing X and get
to the next step that is....

number that will be shown to indicate
the number of pics to be taken to cover your
selected panorama view.
Now you will get a check list of things that should be performed before the actual
image capturing will take part.
All this to make sure you don't forget any important settings that will make your
panorama less appealing.
When you starting to get a PRO GigaPan user it is possible to turn the checklist off
to speed up the process (more about that later).


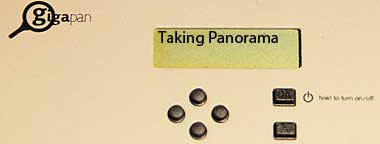
Now the GigaPan imager starts taking all the images that later will be stitched in to a large panorama.
A readout about the panorama-taking status will be displayed during this process.

When the panorama is done press the OK button to confirm.
The GigaPan will now return to the main menu and you can select to start over again
or quit by holding the OK button .
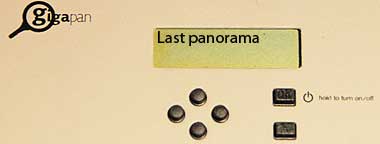
If you like to take one more shoot of the same panorama, then use the up/down
buttons to navigate to this menu and then hit OK and follow the instructions.
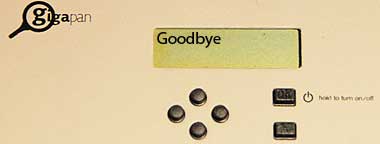
To turn the GigaPan off, press and hold the OK button until "Goodbye!" is displayed.
Read more about this subject here: On line manual or download PDF
Gigapan imager web site: gigapansystems.com